$600 DIY Exterior Paint Makeover
This Spanish Revival exterior makeover cost just $600 and took only 4 days — and the transformation is unreal. I’m breaking down the full DIY process for painting stucco, from prep to sprayer tips.
$600 DIY Spanish Revival Exterior Paint Makeover (4-Day Transformation)
Looking for a budget-friendly way to boost curb appeal? This Spanish Revival DIY exterior paint makeover cost just $600 and completely transformed the look of my sister & BIL's California ranch–style home in just 4 days. If you’ve ever wondered how to paint a stucco house or refresh your home’s exterior without breaking the bank, here’s exactly how we did it.
📌 Pin this project for later if you’re planning your own exterior glow-up!
Project Snapshot
House style: California ranch / Spanish revival
Total time: 4 days (1 prep, 2 paint, 1 touch-ups)
Old color: Green-brown, sun-bleached
New color: The perfect creamy white (Bermuda Sand by Valspar, mixed in Glidden Essentials)
Total cost: ~ $600
Part 1 – Prep Like Your Paint Job Depends on It (it does)
Step 1: Clear the Decks
Unscrew and stash doorbells, security cameras, or hardware that would block your paint sprayer.
For anything that’s hard to remove, just tape it later.
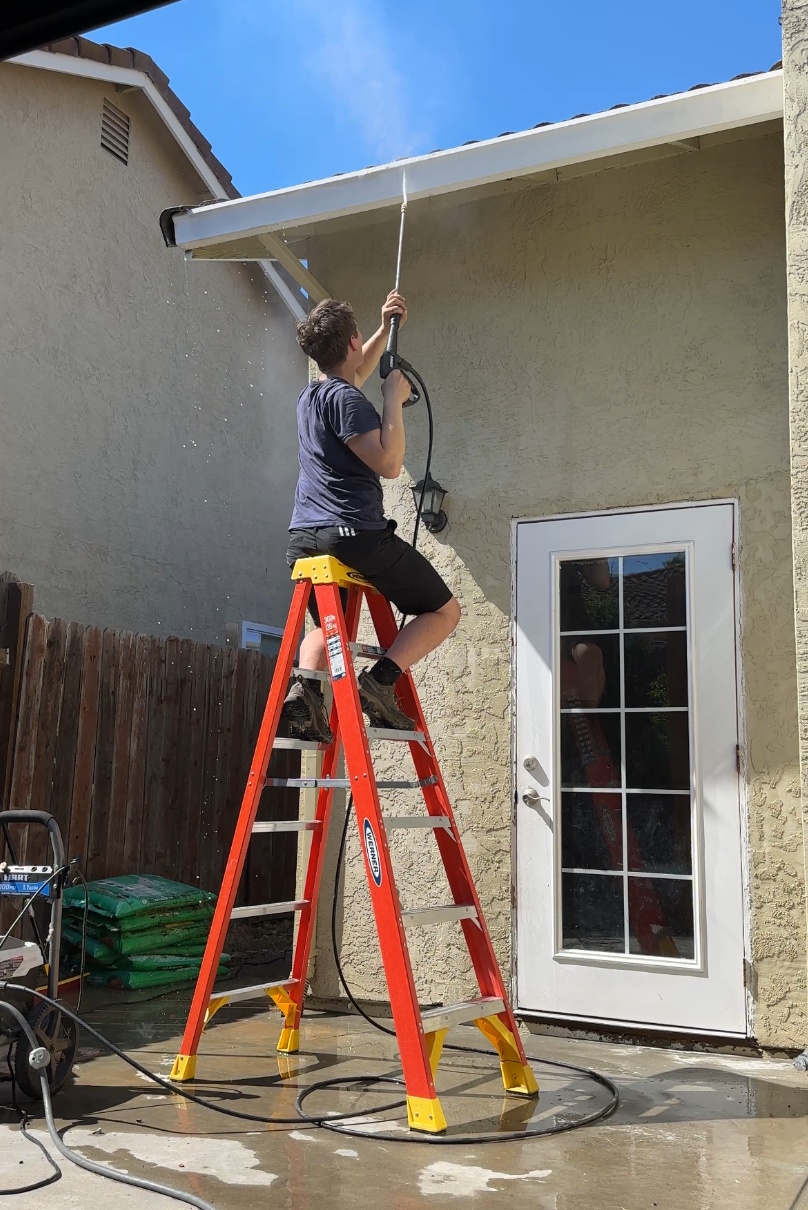
Power-wash the entire house exterior. (We used the HART power washer - perfect for blasting away dirt and dust!)
💡 Tip: A clean surface = better adhesion and a longer-lasting finish.
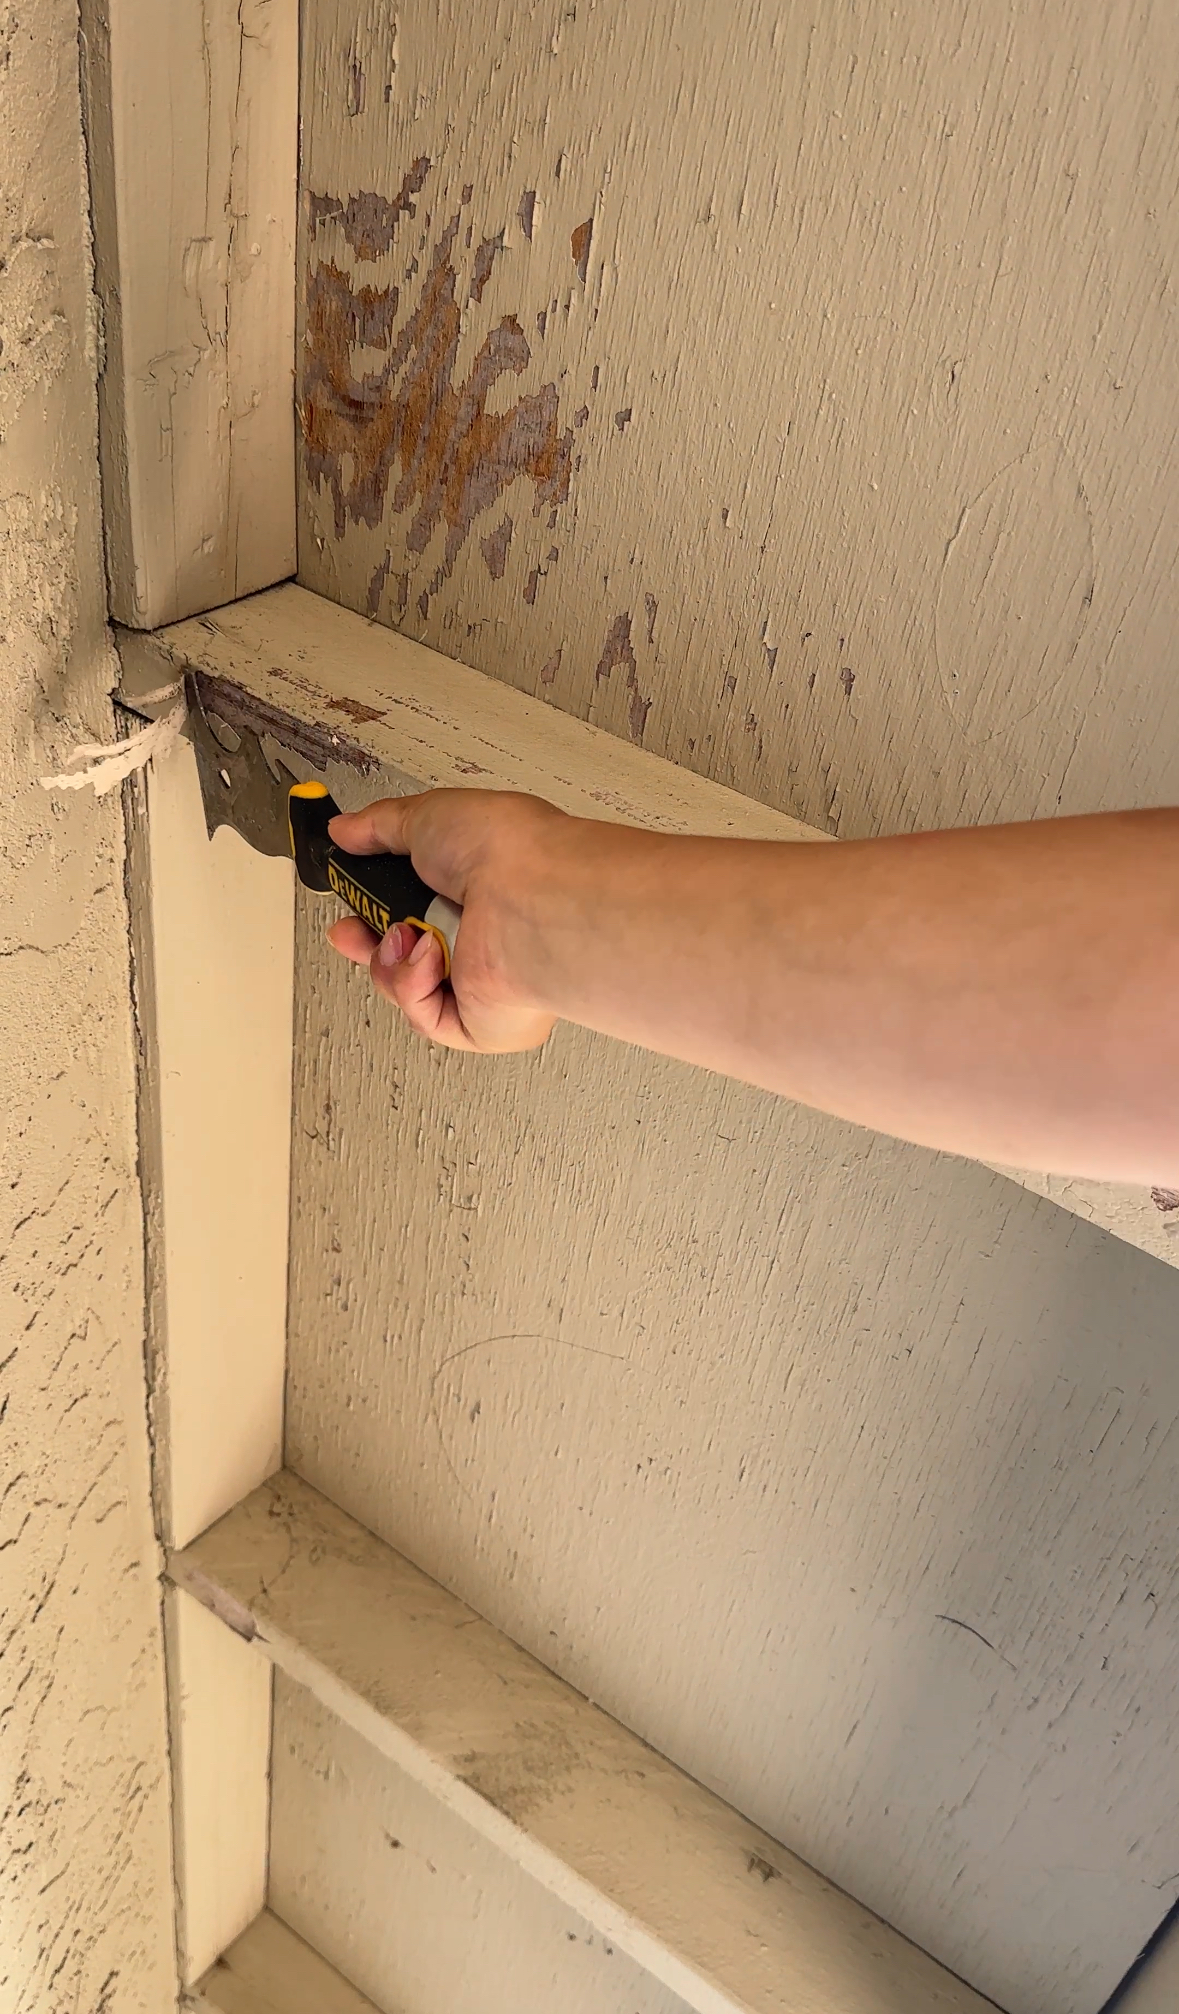
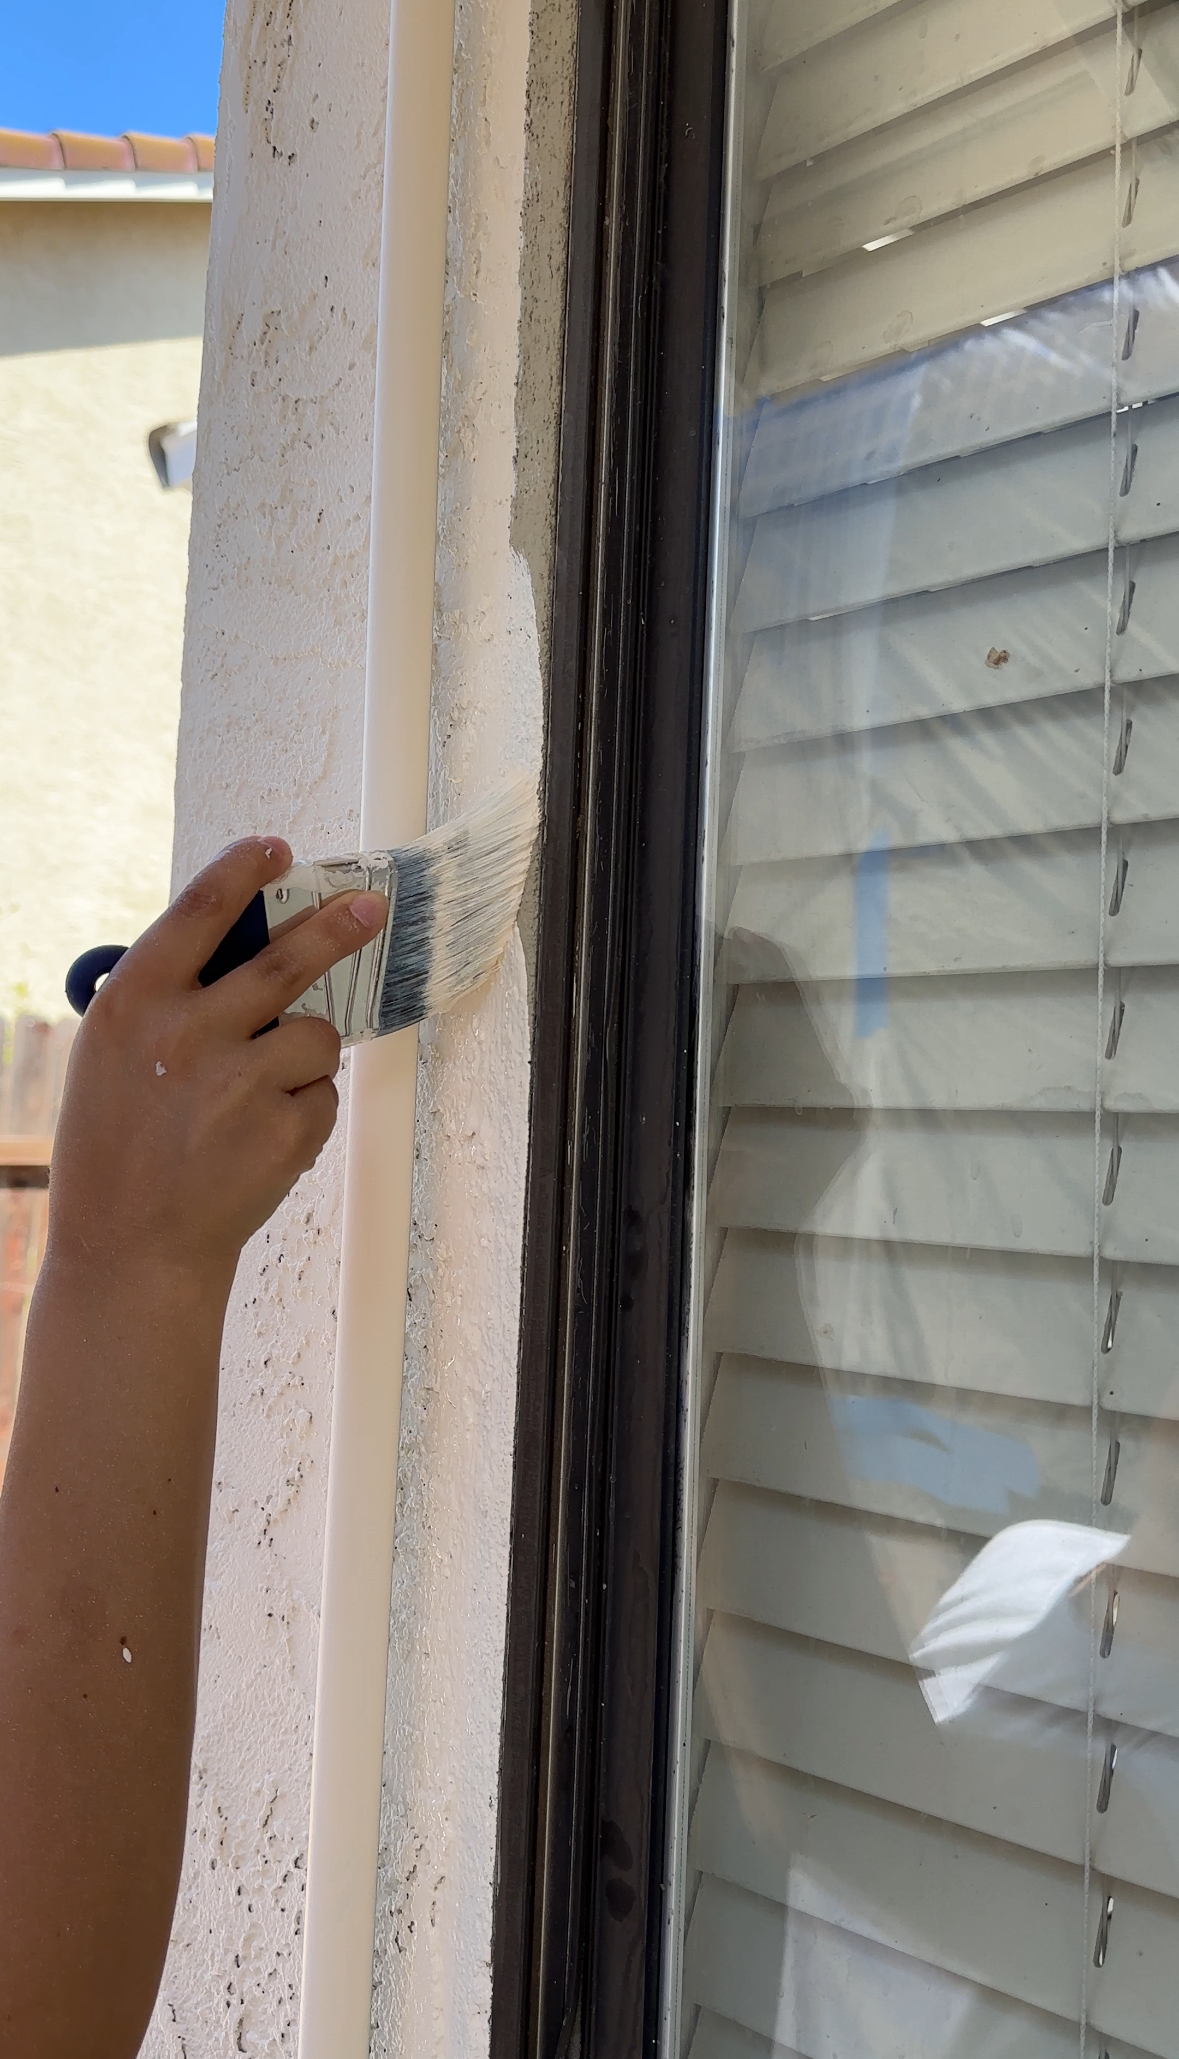
Step 2: Scrape, Tape & Dropcloth
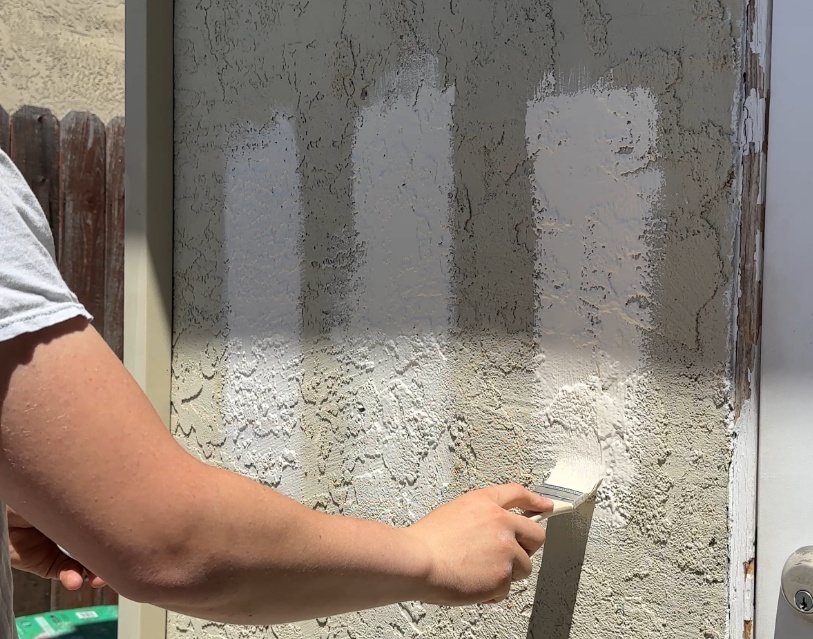
Scraping: Knock off any loose, chipping, or peeling paint. If you’re a perfectionist, you can sand too—but I left most as-is, and it’s barely noticeable once painted.
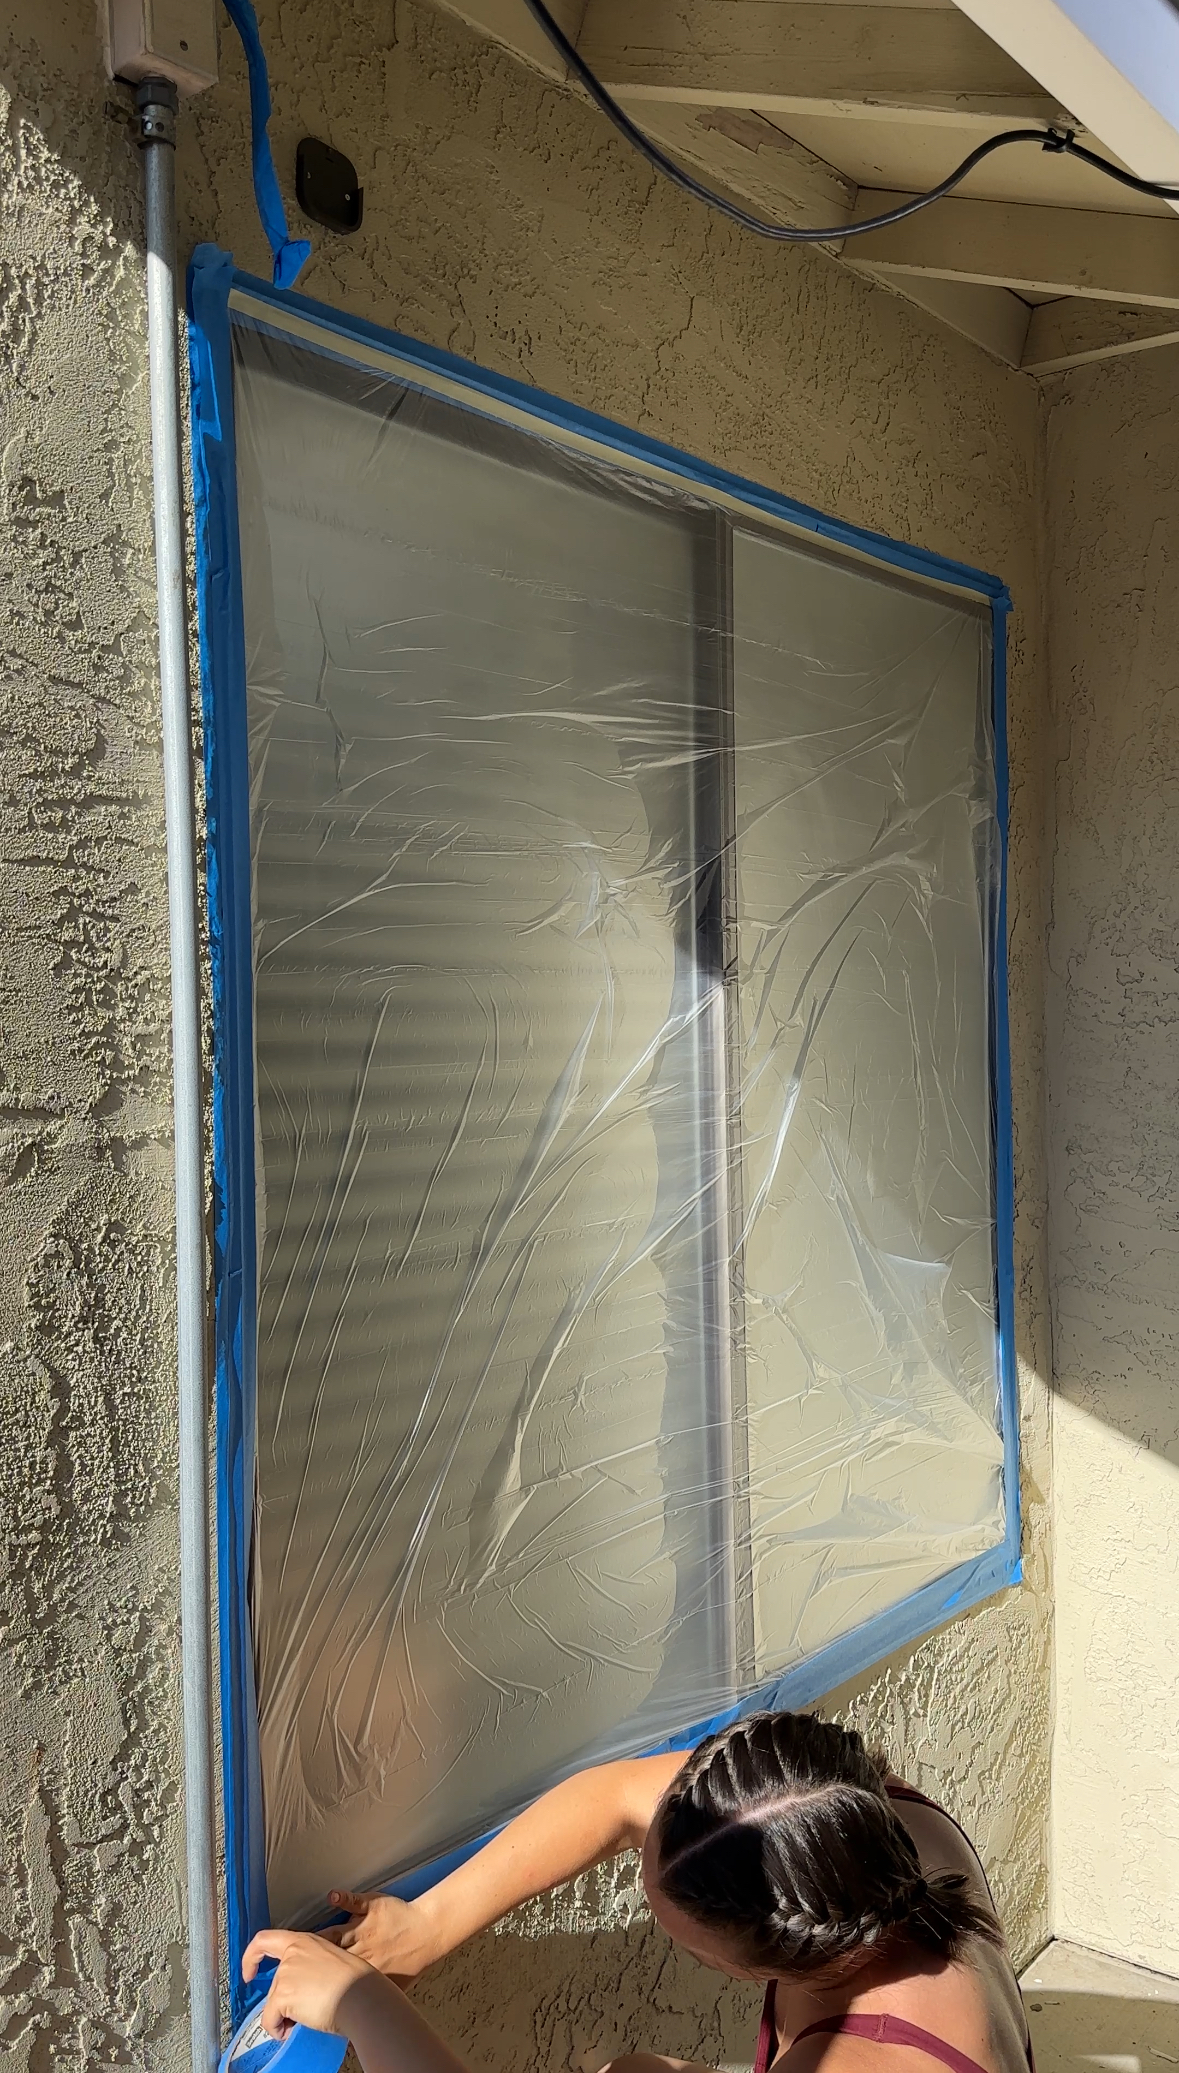
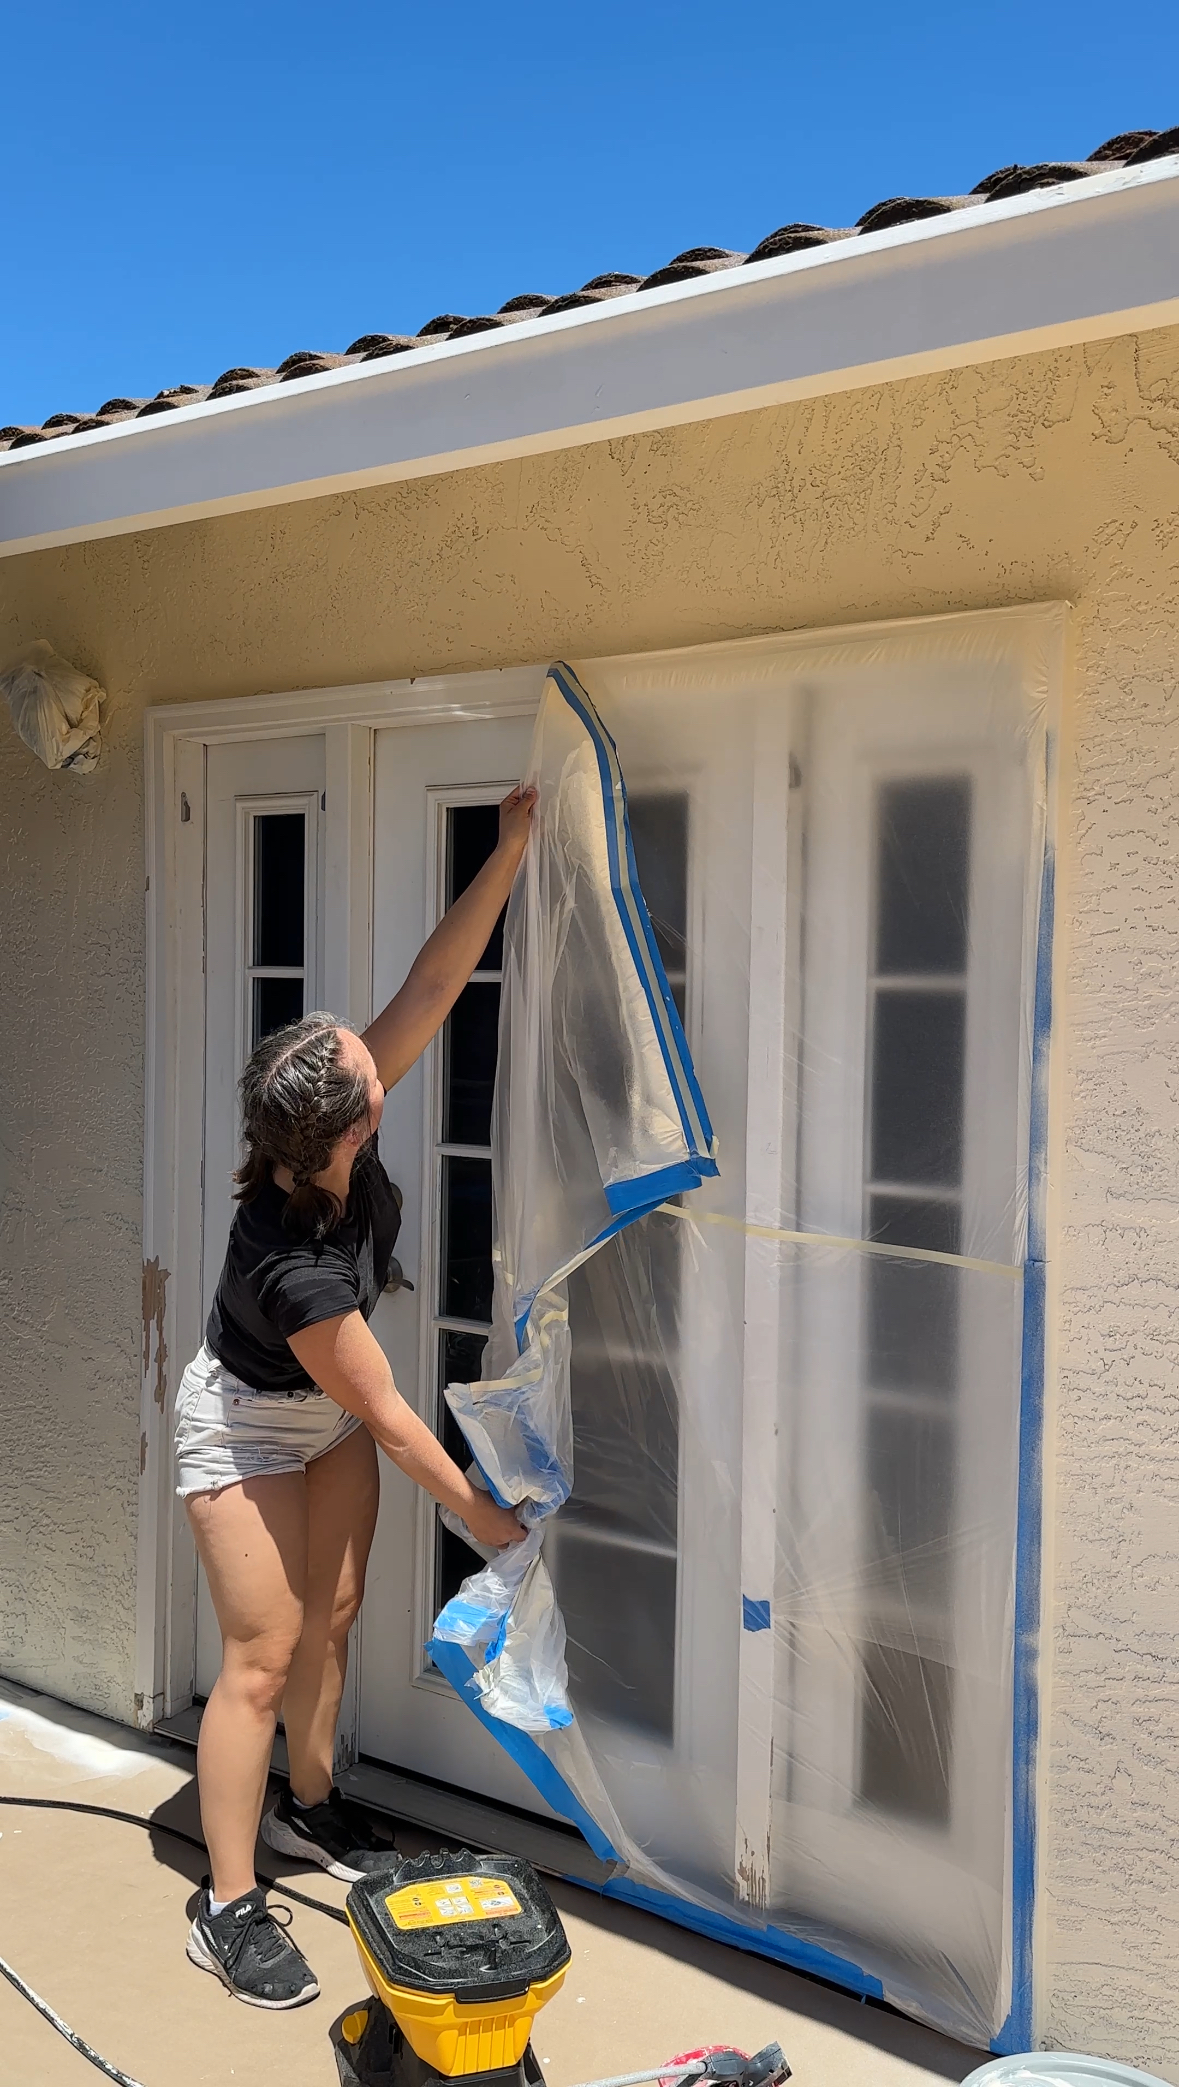
Taping: Pre-taped plastic drop cloths are chef’s kiss for doors, windows, and gas meters. We grabbed this stuff that comes with a built-in blade and dispenser for easy handling.
Ground protection: Paper dropcloth worked best for me. They move with you = less waste and hassle.
🚪 Leave high-traffic doors un-taped until the very last minute so you can still get in and out without tearing your prep work.
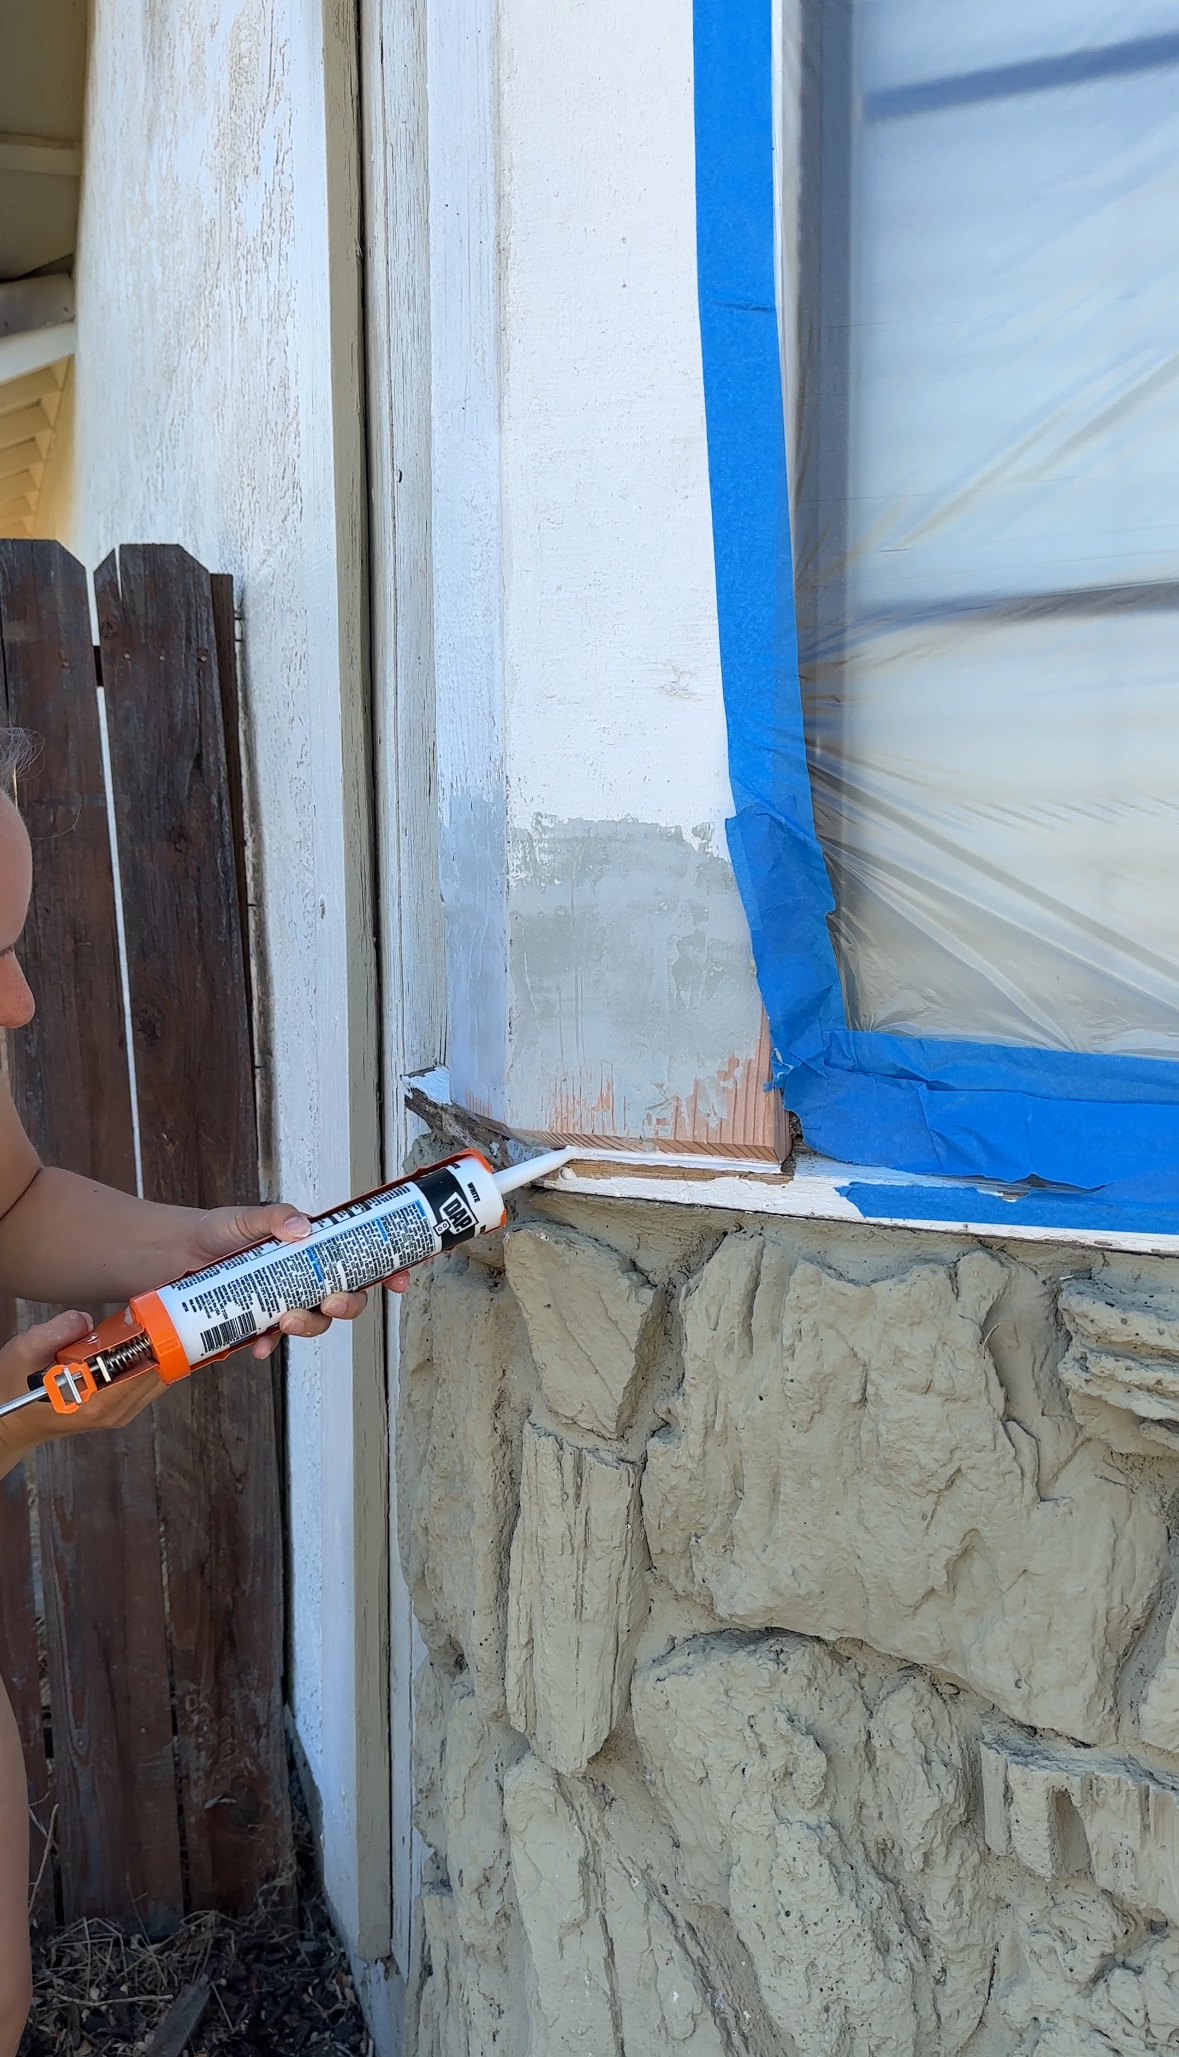
Step 3: Fill Every Crack & Crevice
Hairline gaps: Fill with exterior caulk (we used DAP Dynaflex).
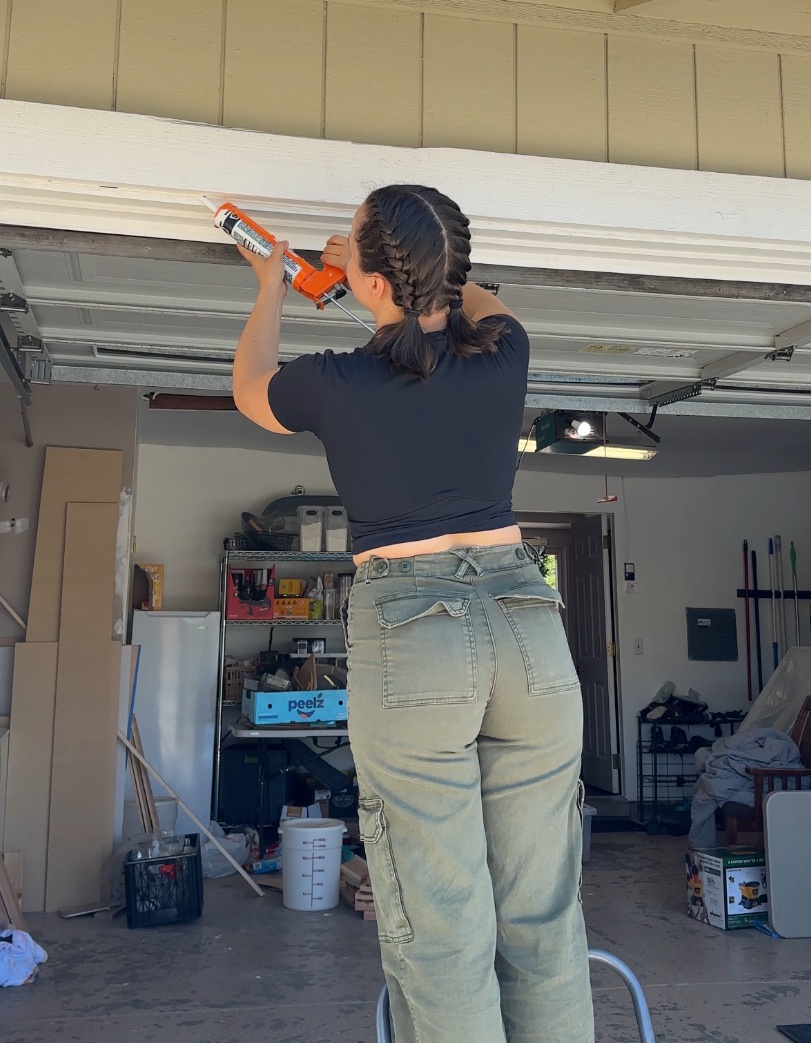
Big boy gaps: Bondo all the way - super durable for outdoor use. (Wear a mask - it's potent stuff!)
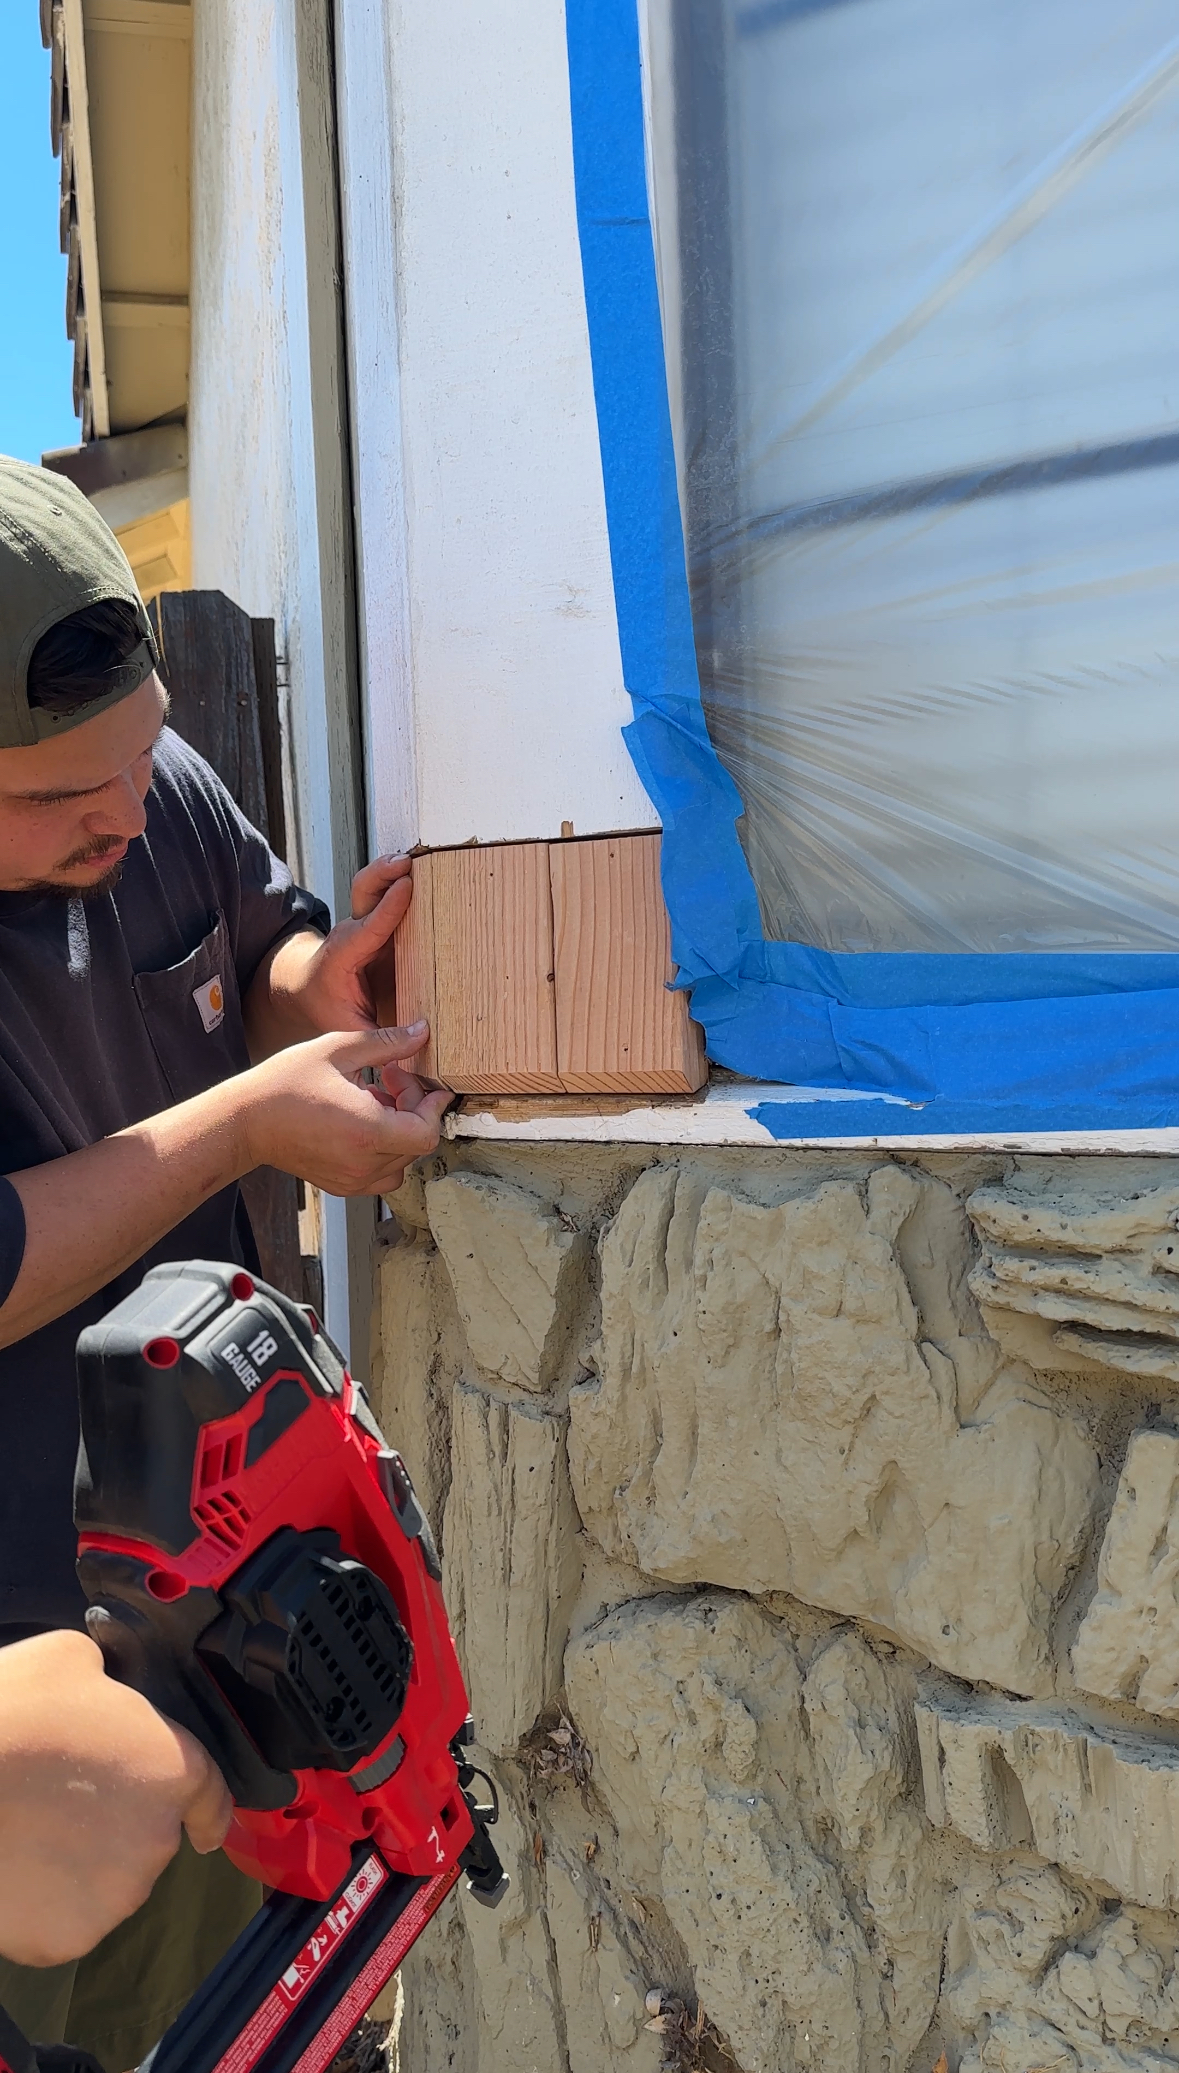
Rotten trim: My brother Ian surgically removed the bad wood, installed fresh boards, then we patched everything Bondo + caulk. You’d never know the difference.
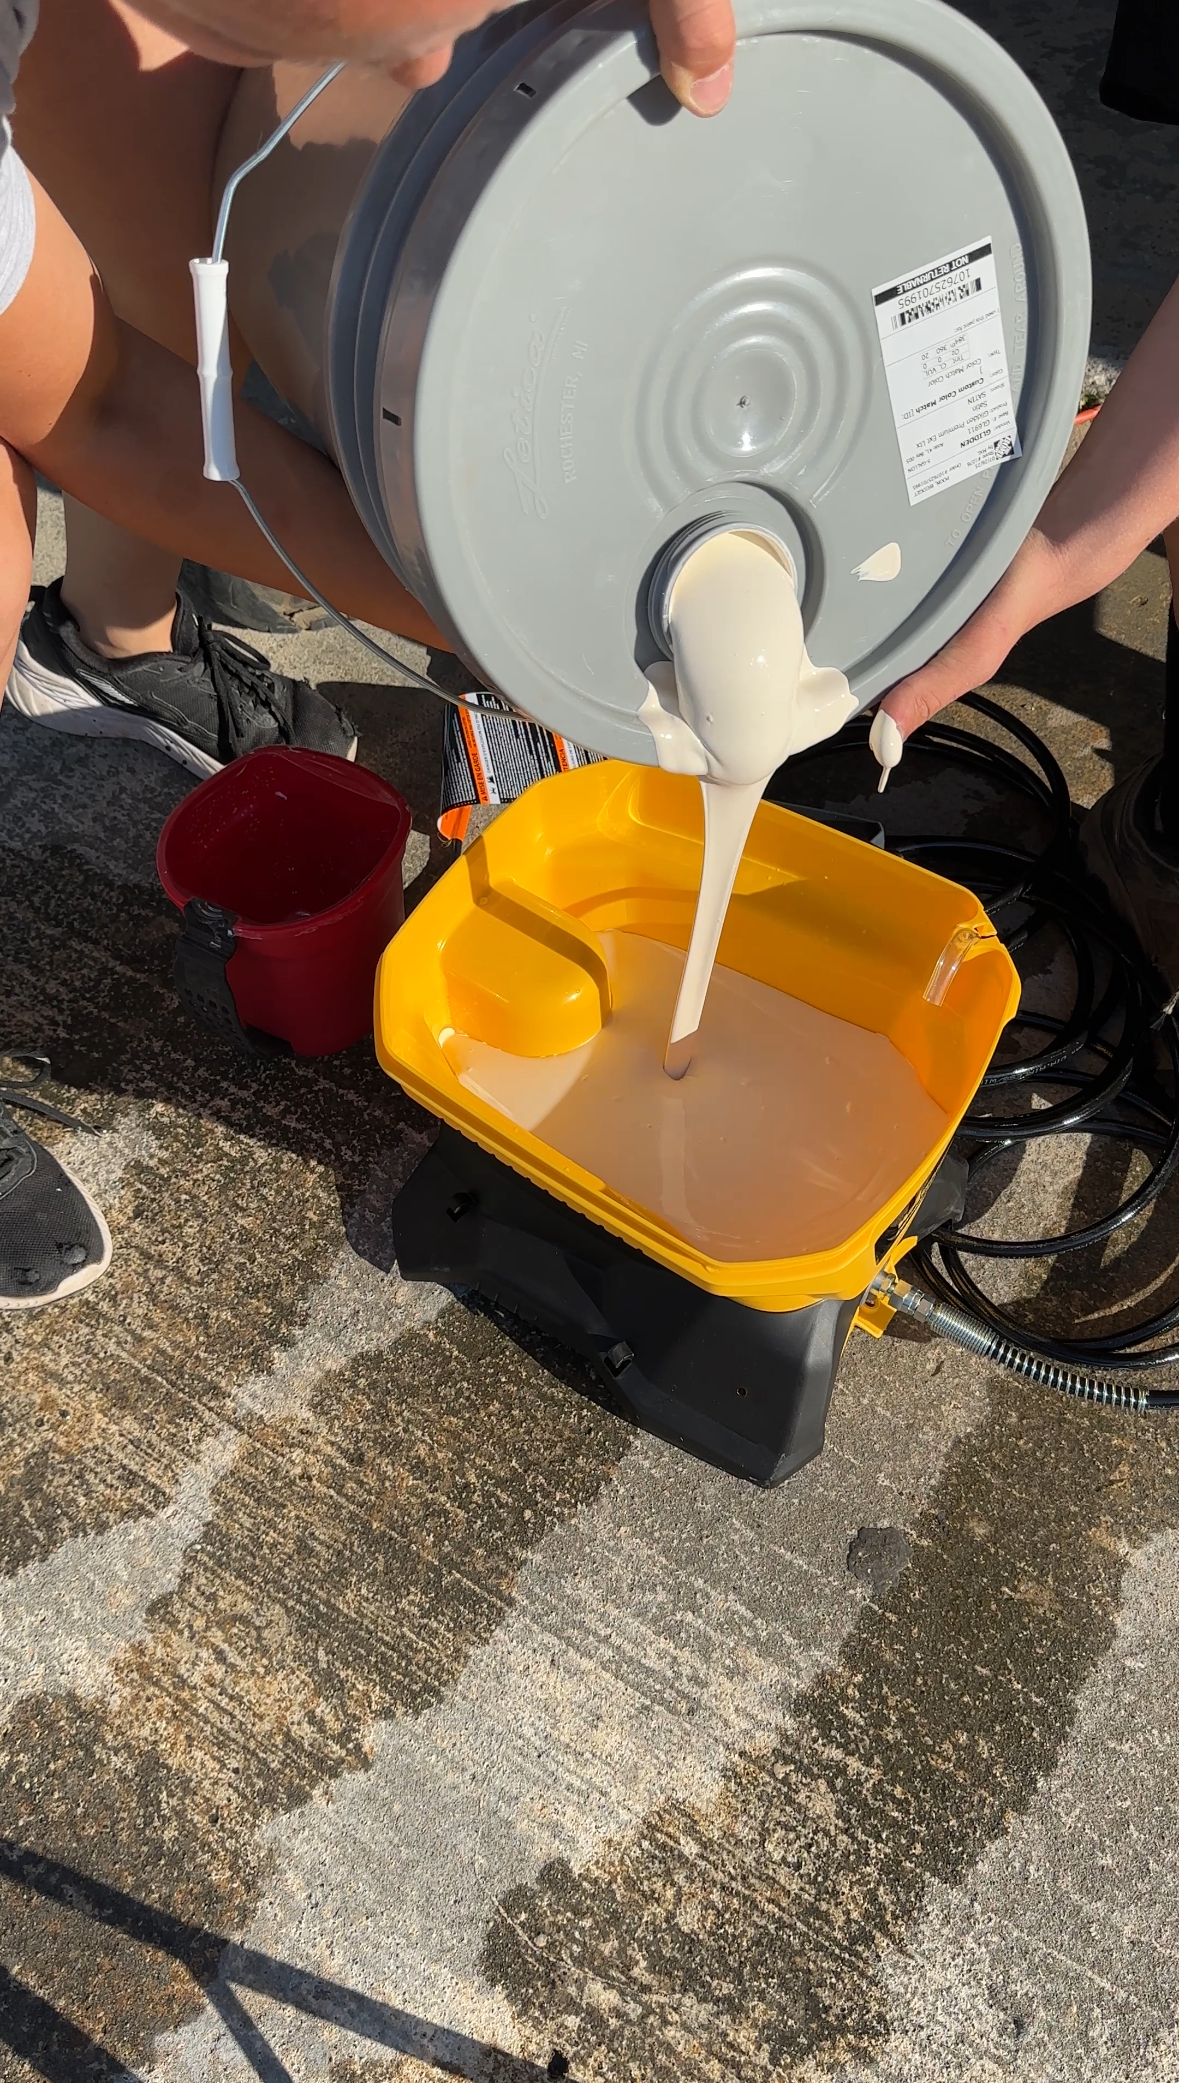
Step 4: The Color-Matching Hack
We tested three creamy-white swatches from Valspar in different light. The winner? Bermuda Sand - a warm white that highlights the terracotta roof without drifting into Tuscan yellow.
💡 Budget tip: Instead of buying Valspar directly, we had Home Depot color-match Bermuda Sand into Glidden Essentials. It was more affordable and 99% accurate. Just bring the paint card - they’ll handle the rest.
Part 2 – Spray Days: The Fast Track to a Flawless Finish
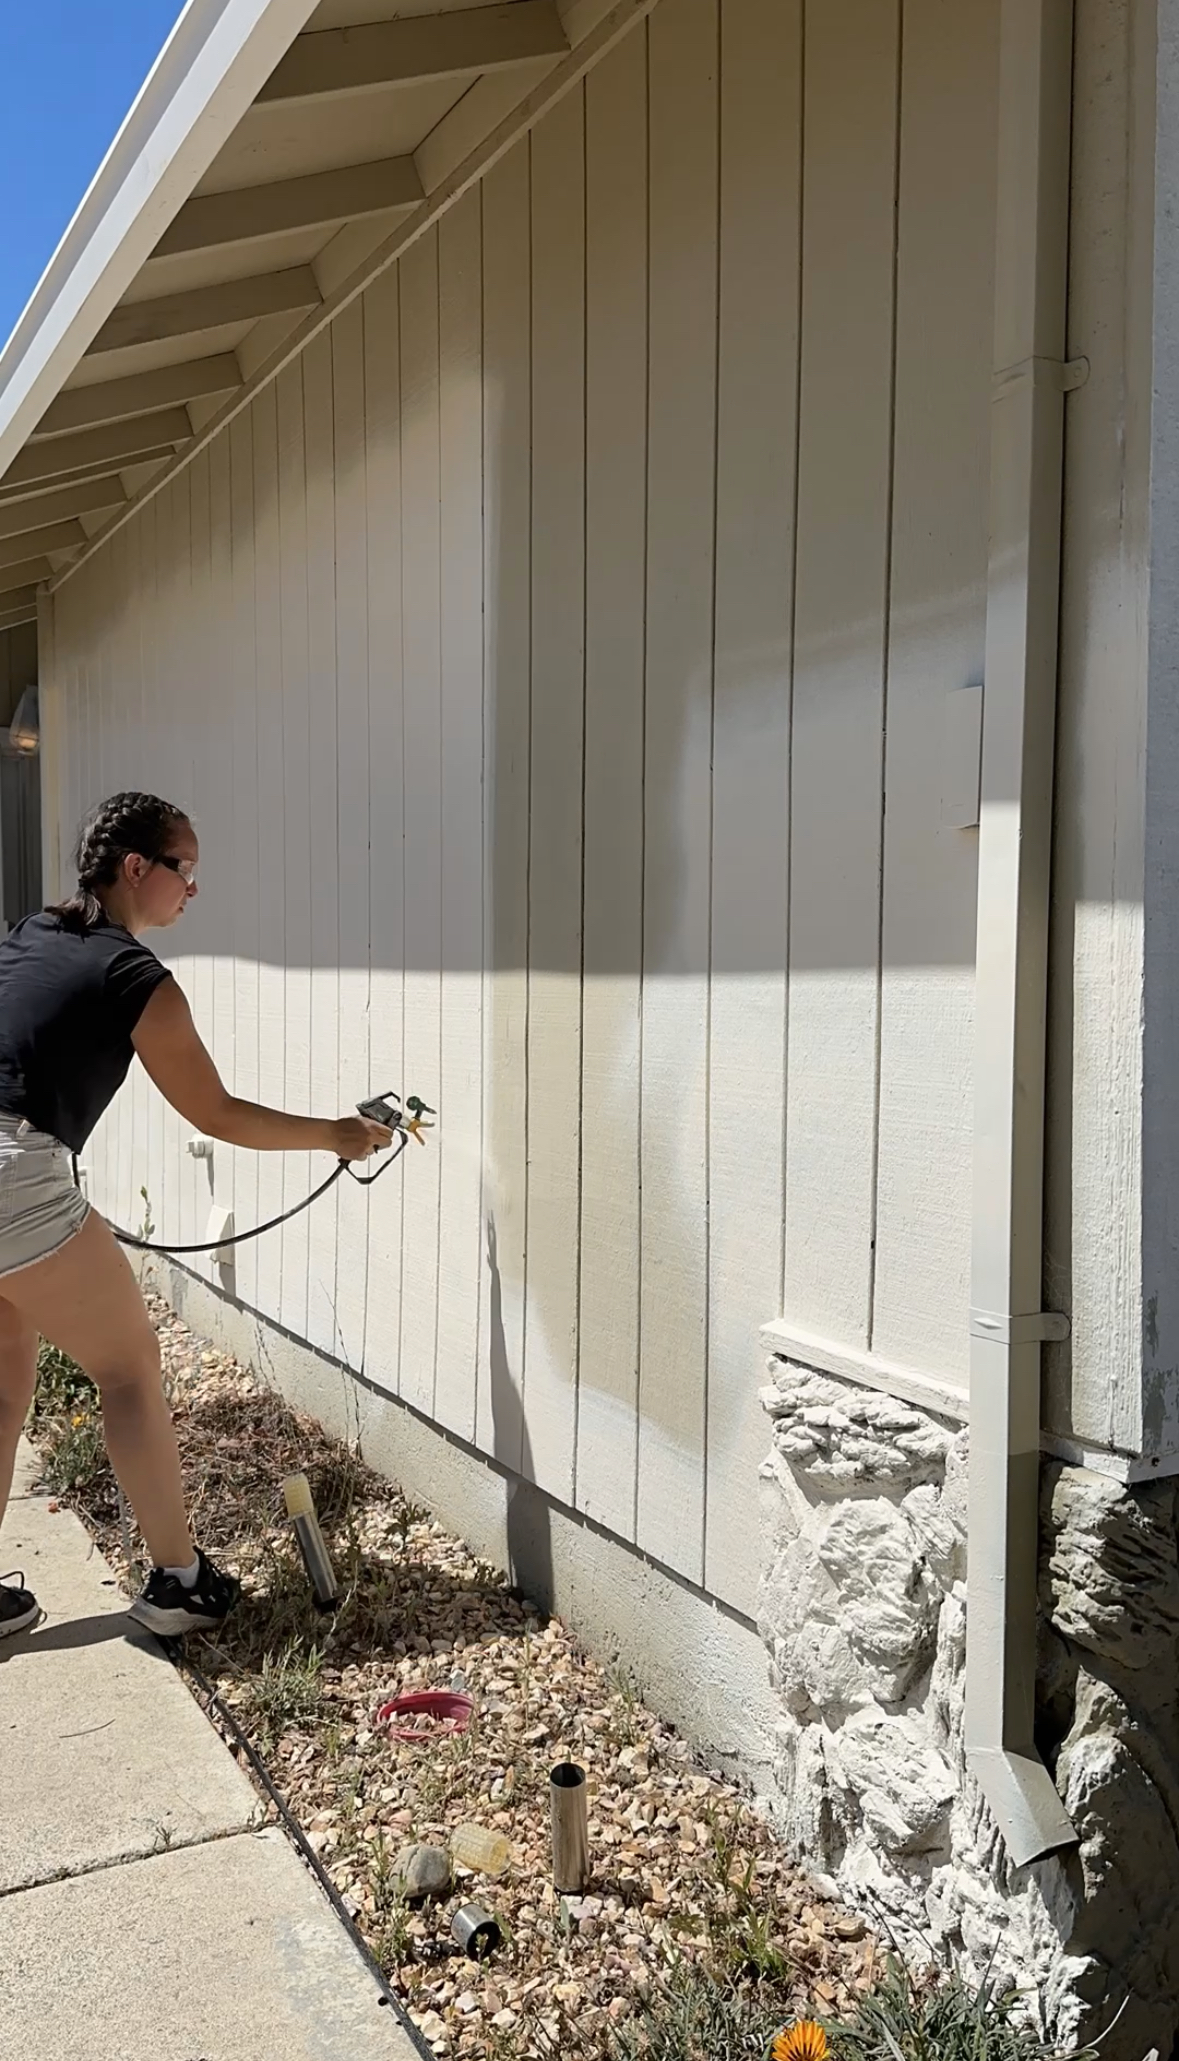
Step 1: Conquer the Sprayer Fear
I’d only used smaller HVLP sprayers before, so this full-size Wagner Control Pro 130 was intimidating at first. But honestly—it’s the easiest sprayer I’ve ever used. Just point and shoot.
Pro tips:
If you see “tails” in your spray (see middle photo above), thin the paint slightly.
Painting multiple days? Keep the nozzle dipped in water overnight and pour ½ cup of water over the paint in the reservoir. This keeps everything wet and clog-free.
Step 2: Spray Smart, Not Hard
Order of attack: Keep a helper nearby to refill the paint reservoir—it gets old fast.
Keep it wet: Pull tape before the paint fully sets for cleaner lines.
Touch-up strategy: Overspray slightly on windows, then hand-brush the edge for razor-sharp frames.
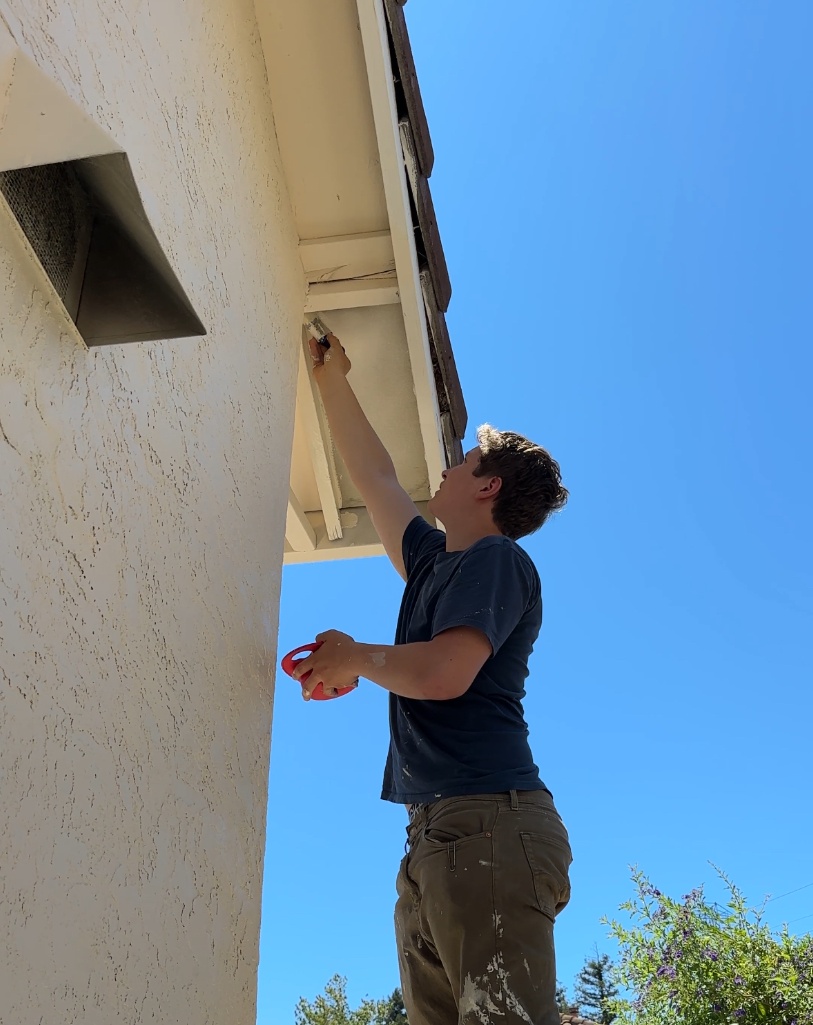
Step 3: Touch-Up Time
We hand-painted many of the eaves instead of spraying overhead. It took an extra day, but at least we weren’t showered in sprayer mist the whole time. Sometimes comfort > speed!
Step 4: How Much Paint Do You Really Need?
Here’s where stucco throws a curveball. For our ~1,000 sq ft house, we used 15 gallons—about 3x more than I expected.
Why? Stucco is extremely absorbent and requires spraying from multiple angles for full coverage. By contrast, the wood siding in the front stretched much farther per gallon.
💡 Lesson: If you’re painting stucco, budget extra paint from the start.
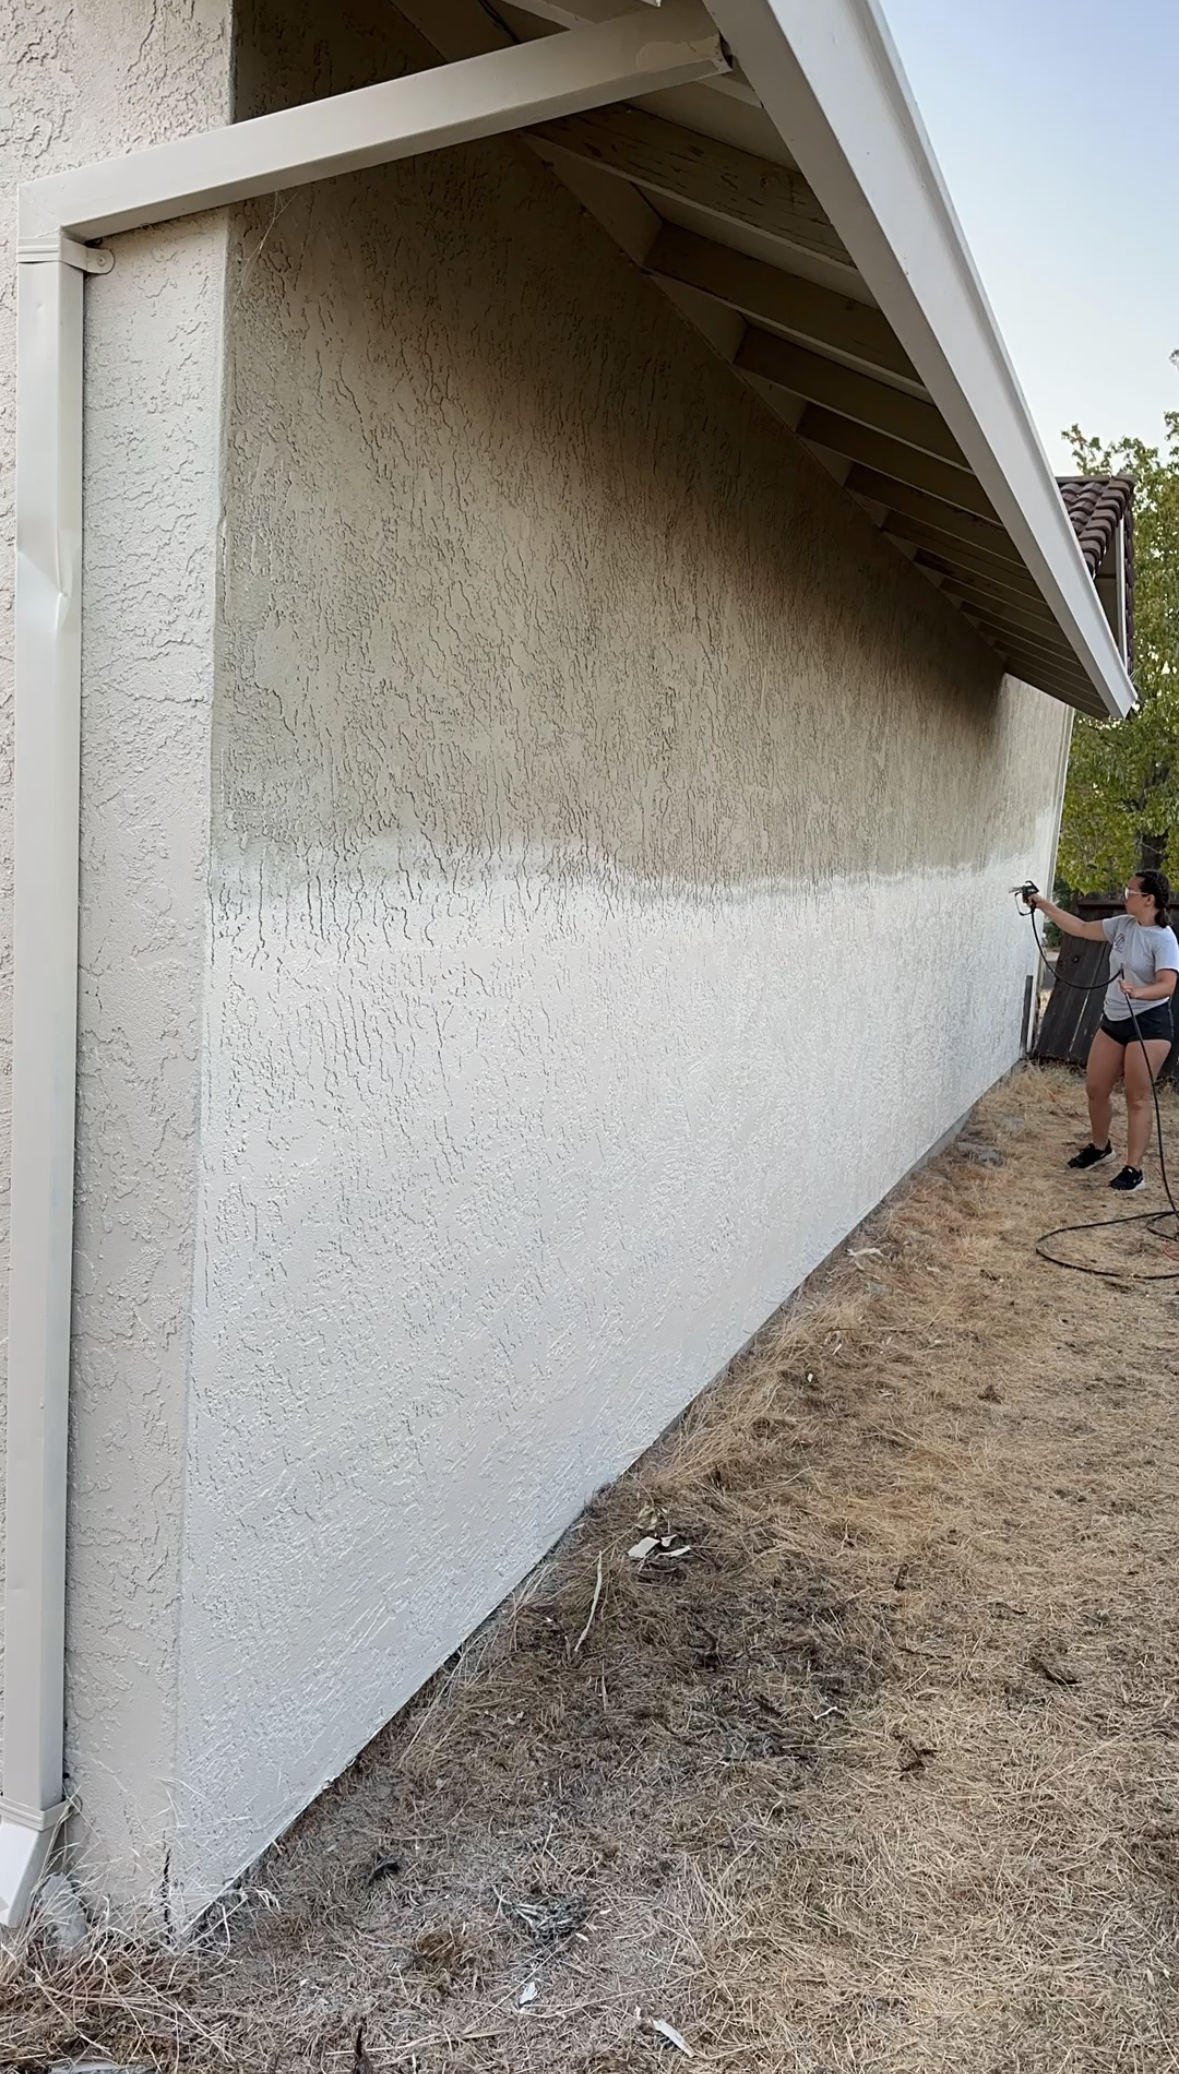
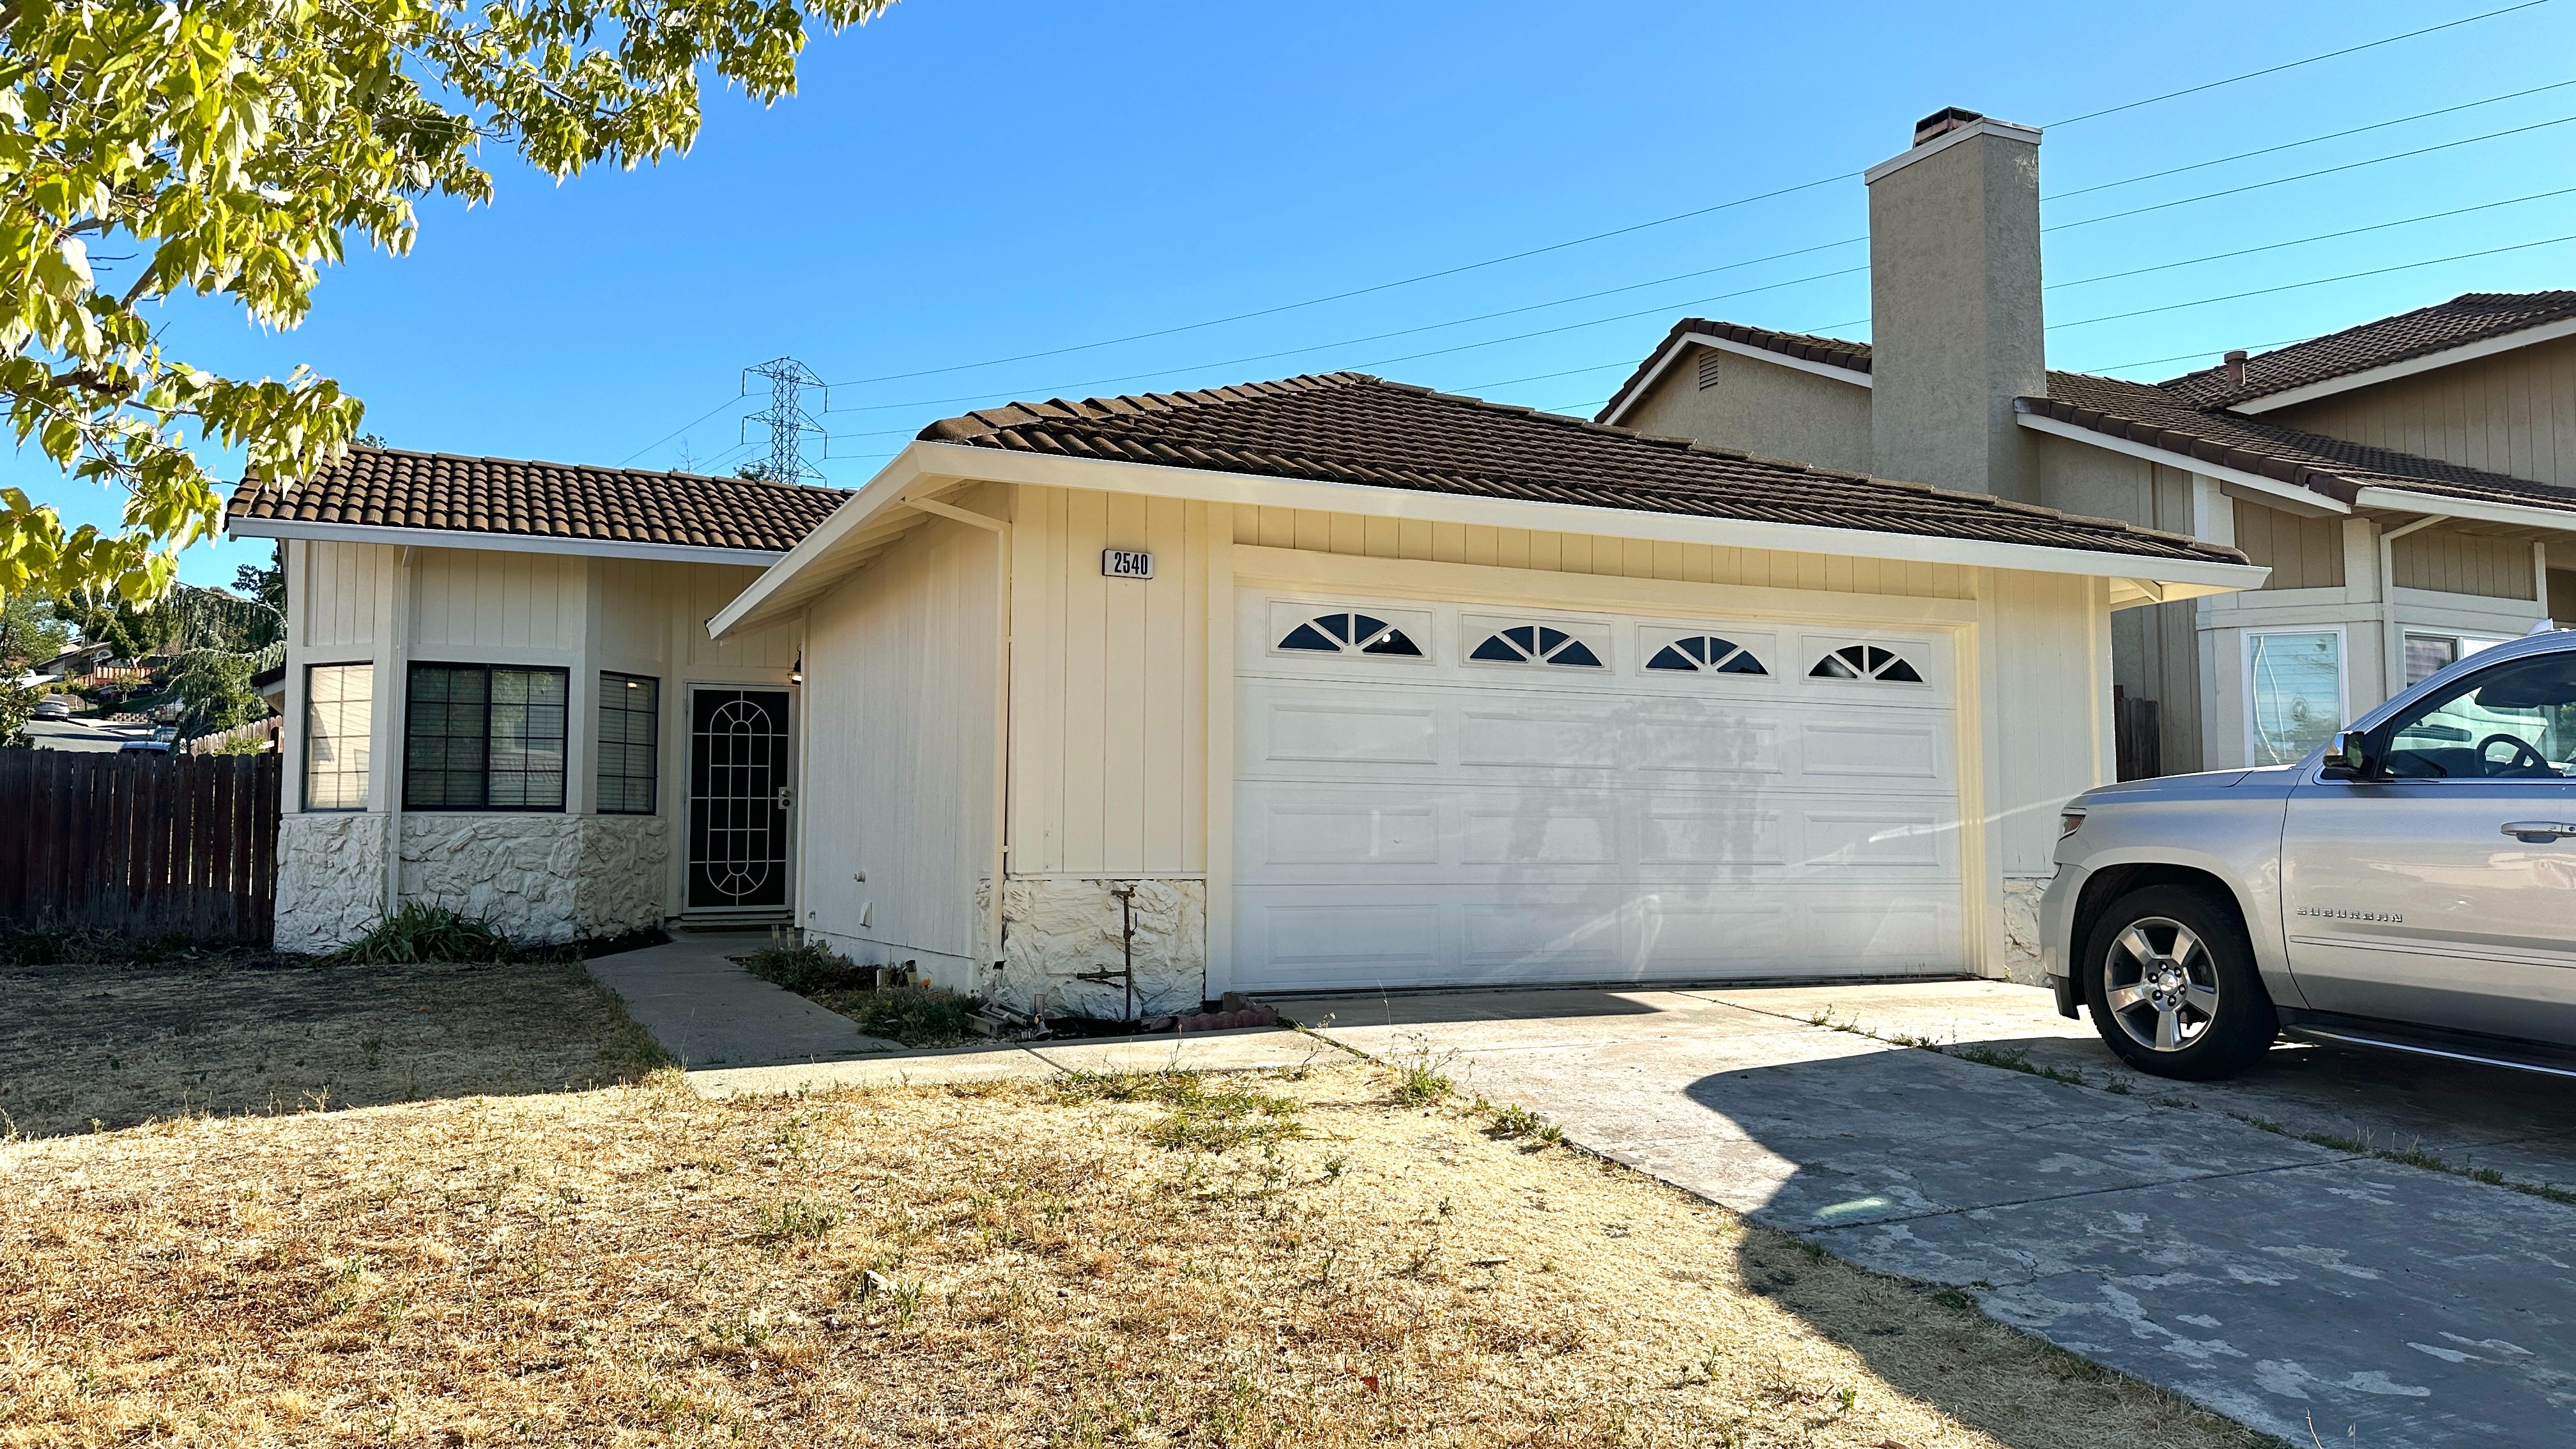
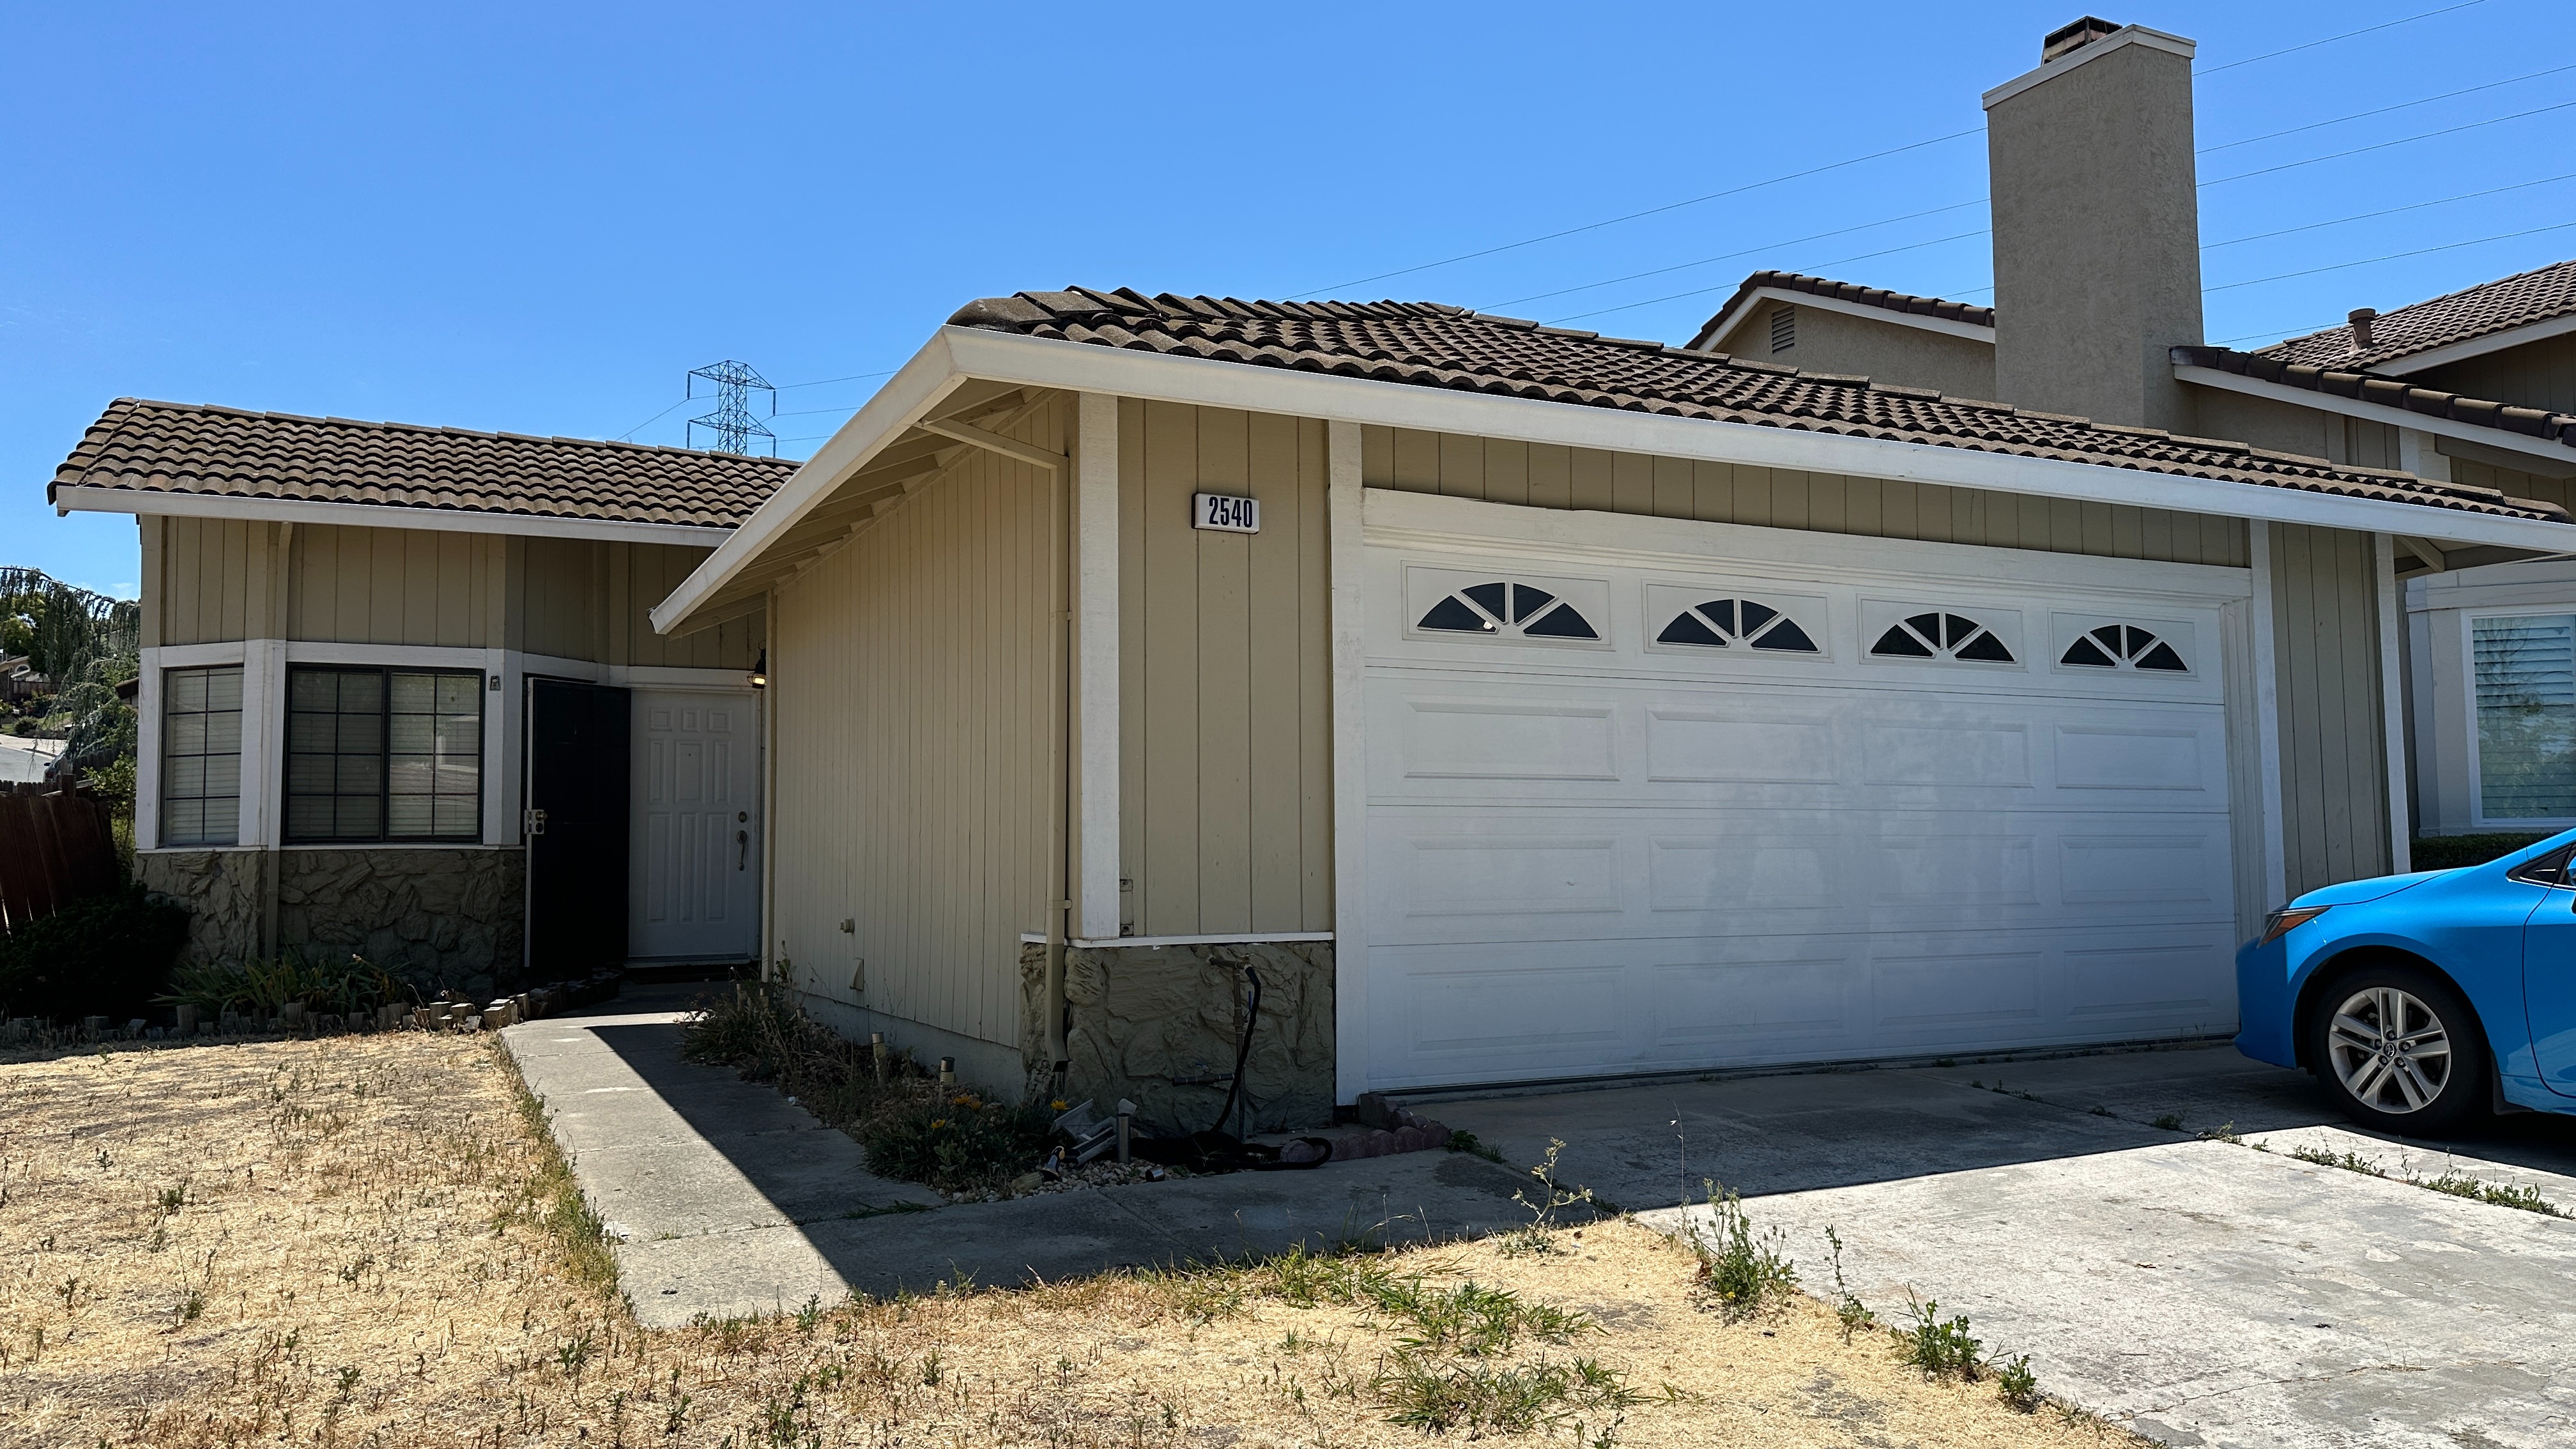
The Big Reveal ✨
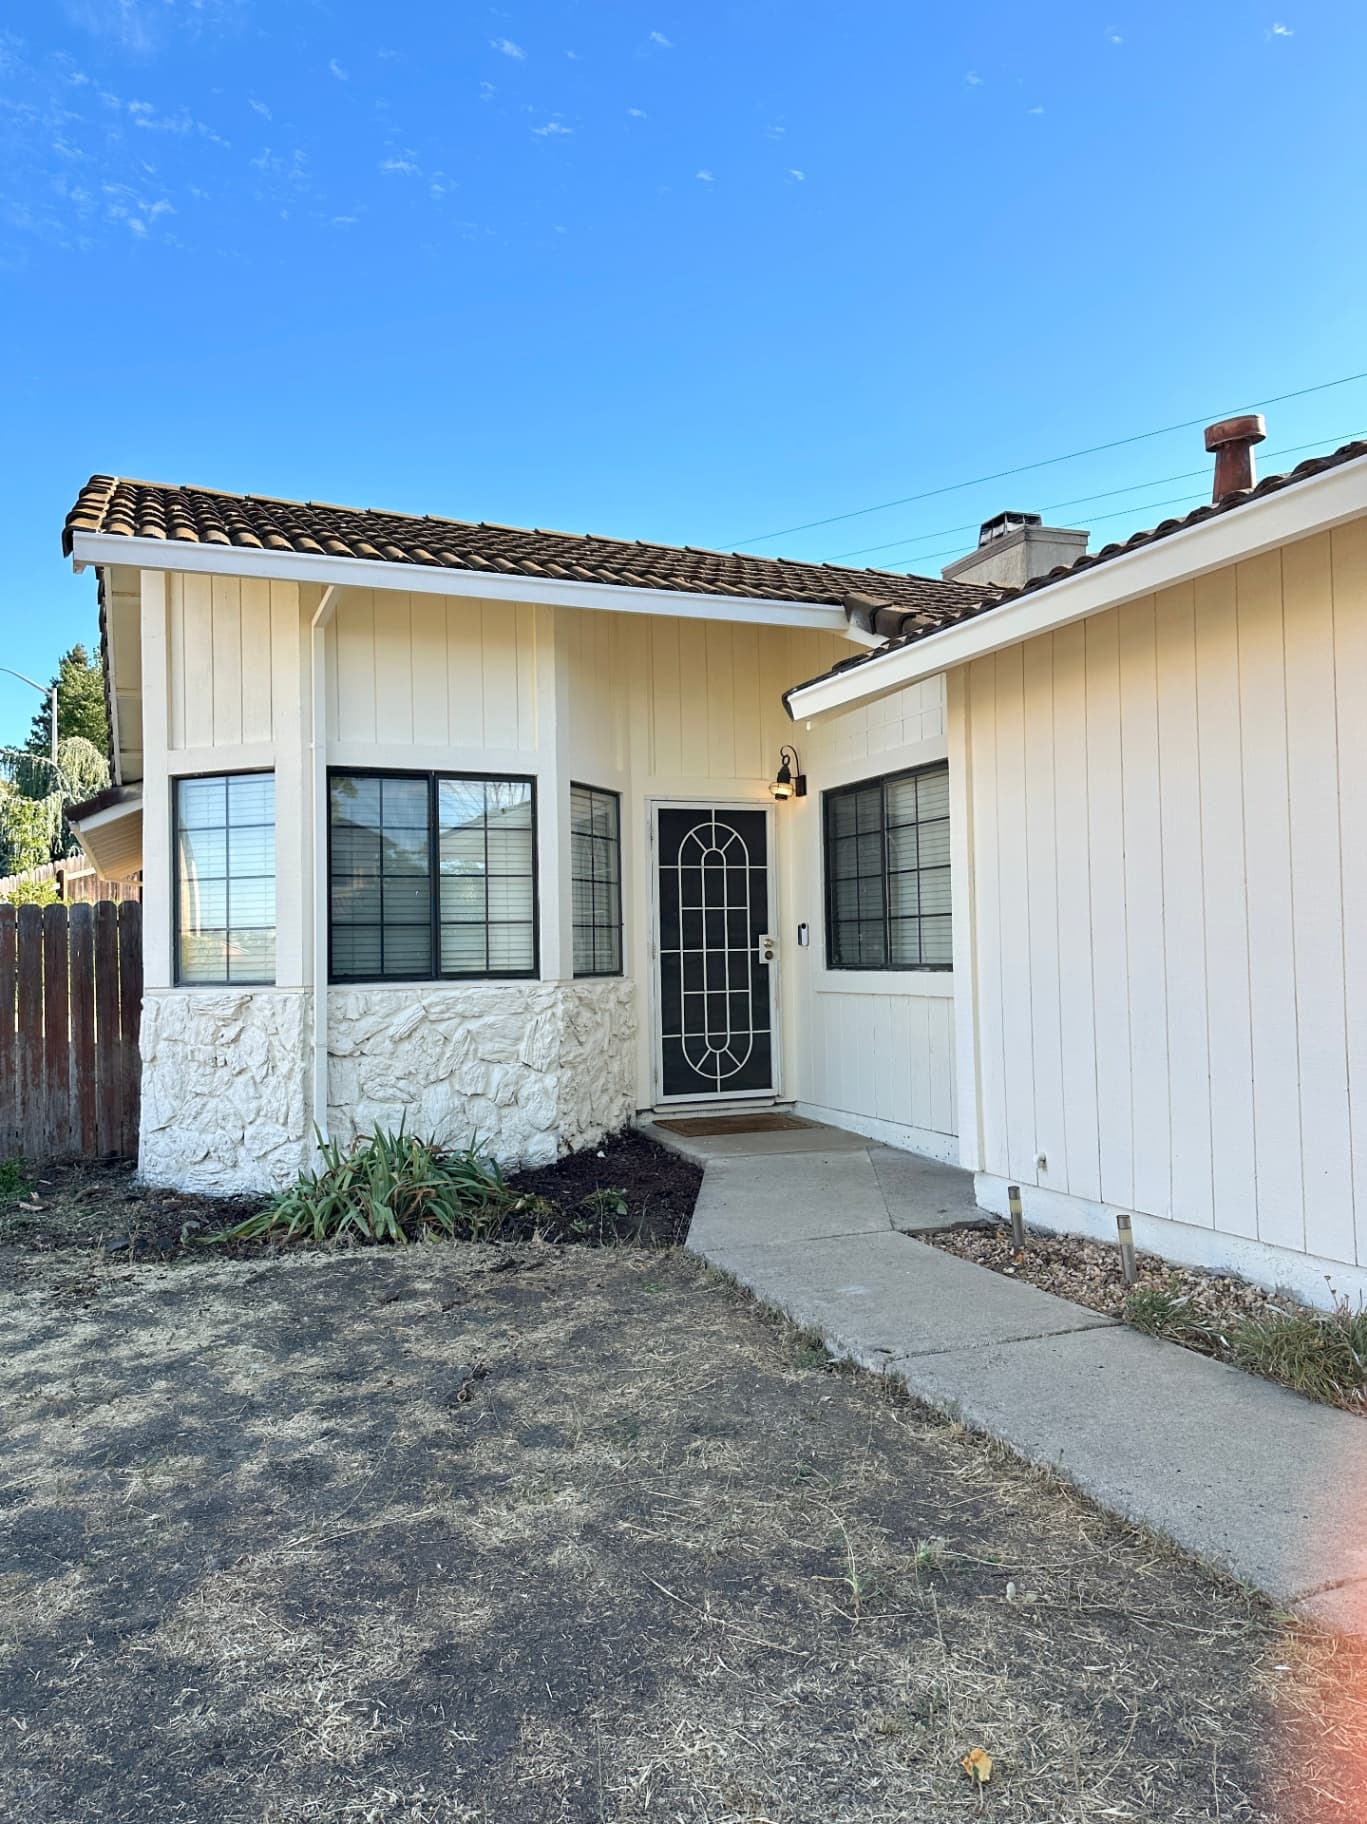
Before: Dull green-brown, dated trim, no style cohesion.
After: Bright, creamy stucco that highlights Spanish Revival details and terracotta roof—an instant curb appeal upgrade.
Budget Breakdown
Item | Cost |
|---|---|
Exterior paint (15 gallons) | $540 |
Wagner sprayer (Control Pro 130) | Gifted (normally $230) |
Misc supplies (drop cloth, tape, brush, etc) | $80 |
TOTAL: | ~$620 |
Up Next
A garage door faux-wood makeover is coming soon (think cedar grain with zero planks). Subscribe so you don’t miss it!
💡 Got questions about painting stucco, using a sprayer, or Spanish Revival paint colors? Drop them in the comments - I’m happy to share everything I learned.
📌 Don’t forget to save this $600 DIY exterior makeover to Pinterest for your next project!
Key Takeaways
Prep is everything. Don’t skimp—it’s 70% of the job.
Spraying stucco saves time. Yes, it’s more masking, but coverage is so much better.
Do it scared. I was nervous, but the transformation was worth it.
Got questions? Drop them below—happy to share every win, fail, and lesson learned!