Raised Garden Bed DIY: How to Build an Easy 2x4 Raised Garden Bed in One Day
Learn how to build an easy 2x4 raised garden bed DIY in just one day with this beginner-friendly step-by-step tutorial. This raised DIY garden bed is customizable, practical for small backyards, and includes a full materials list, cut list, tools list, and finishing tips.
Raised Garden Bed DIY: How to Build an Easy 2x4 Raised Garden Bed in One Day
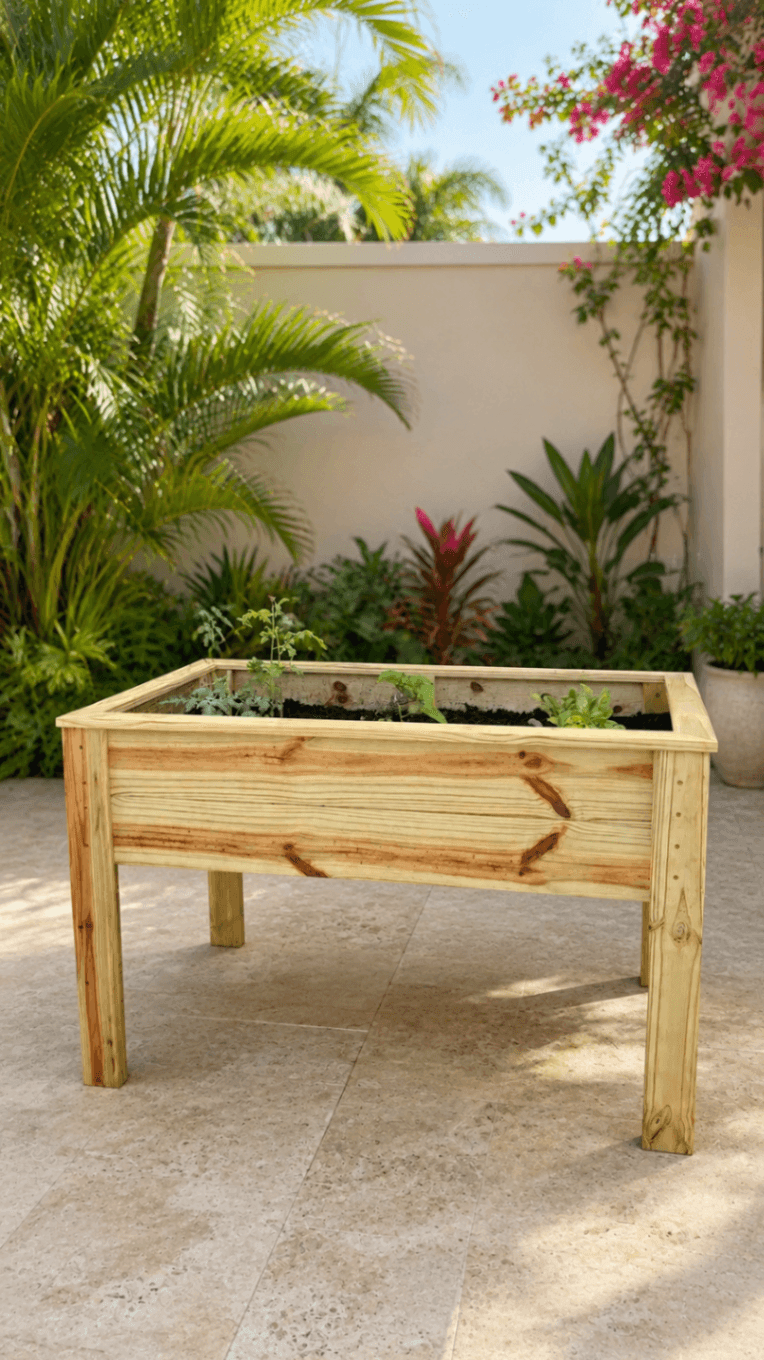
If you've been dreaming about growing your own herbs, flowers, or vegetables but don't want to tackle a massive backyard makeover, this raised garden bed DIY is the perfect weekend project. This simple 2x4 raised DIY garden bed is beginner-friendly, customizable, and can be built in just one day with basic tools.
I built this version for a smaller backyard, but one of my favorite things about this project is how easy it is to customize. Whether you're working with a tiny patio, a side yard, or a larger garden space, you can adjust the dimensions to fit your needs and create a garden bed that's perfect for your space.
Why Build a DIY Raised Garden Bed?
There are so many reasons to love a raised garden bed DIY project:
It helps define your garden space
It keeps planting areas neat and organized
It works well in small backyards and patios
You can customize the size, height, and finish
It's beginner-friendly and can be built in a day
I especially love this 2x4 size because it's large enough to grow a surprising amount of plants without taking over your entire yard. It's a great starter project if you're new to gardening or DIY.
Is Pressure-Treated Wood Safe for a Raised Garden Bed?
For this project, I used pressure-treated pine because that's what was readily available in my area. If you have access to cedar, that's another excellent option!
A lot of people still wonder whether pressure-treated wood is safe to use around vegetables, here's my thoughts on this...👇
Modern pressure-treated lumber is very different from older versions and is generally considered safe for raised garden beds. If you'd rather use a naturally rot-resistant wood, cedar is a great choice, but pressure-treated pine is totally fine too.
Project Overview
Project type: Raised garden bed DIY
Size: 2 ft x 4 ft
Skill level: Beginner
Time: 1 day
Materials List
For this 2x4' raised DIY garden bed, I used:
3 x (1x3x8') (*swap for 1x4's if you can't find pressure treated 1x3's locally!)
7 x (1x4x4')
6 x (1x6x4')
Plants or seeds
A quick note on the lumber links:
I built this raised garden bed while living in Puerto Rico, so I used the best lumber options available locally at the time. Since some of those exact boards are harder to find in the mainland U.S., I’ve linked similar alternatives that are more widely available here - just keep in mind there may be some visible differences in the lumber compared to what you see in the video and photos.
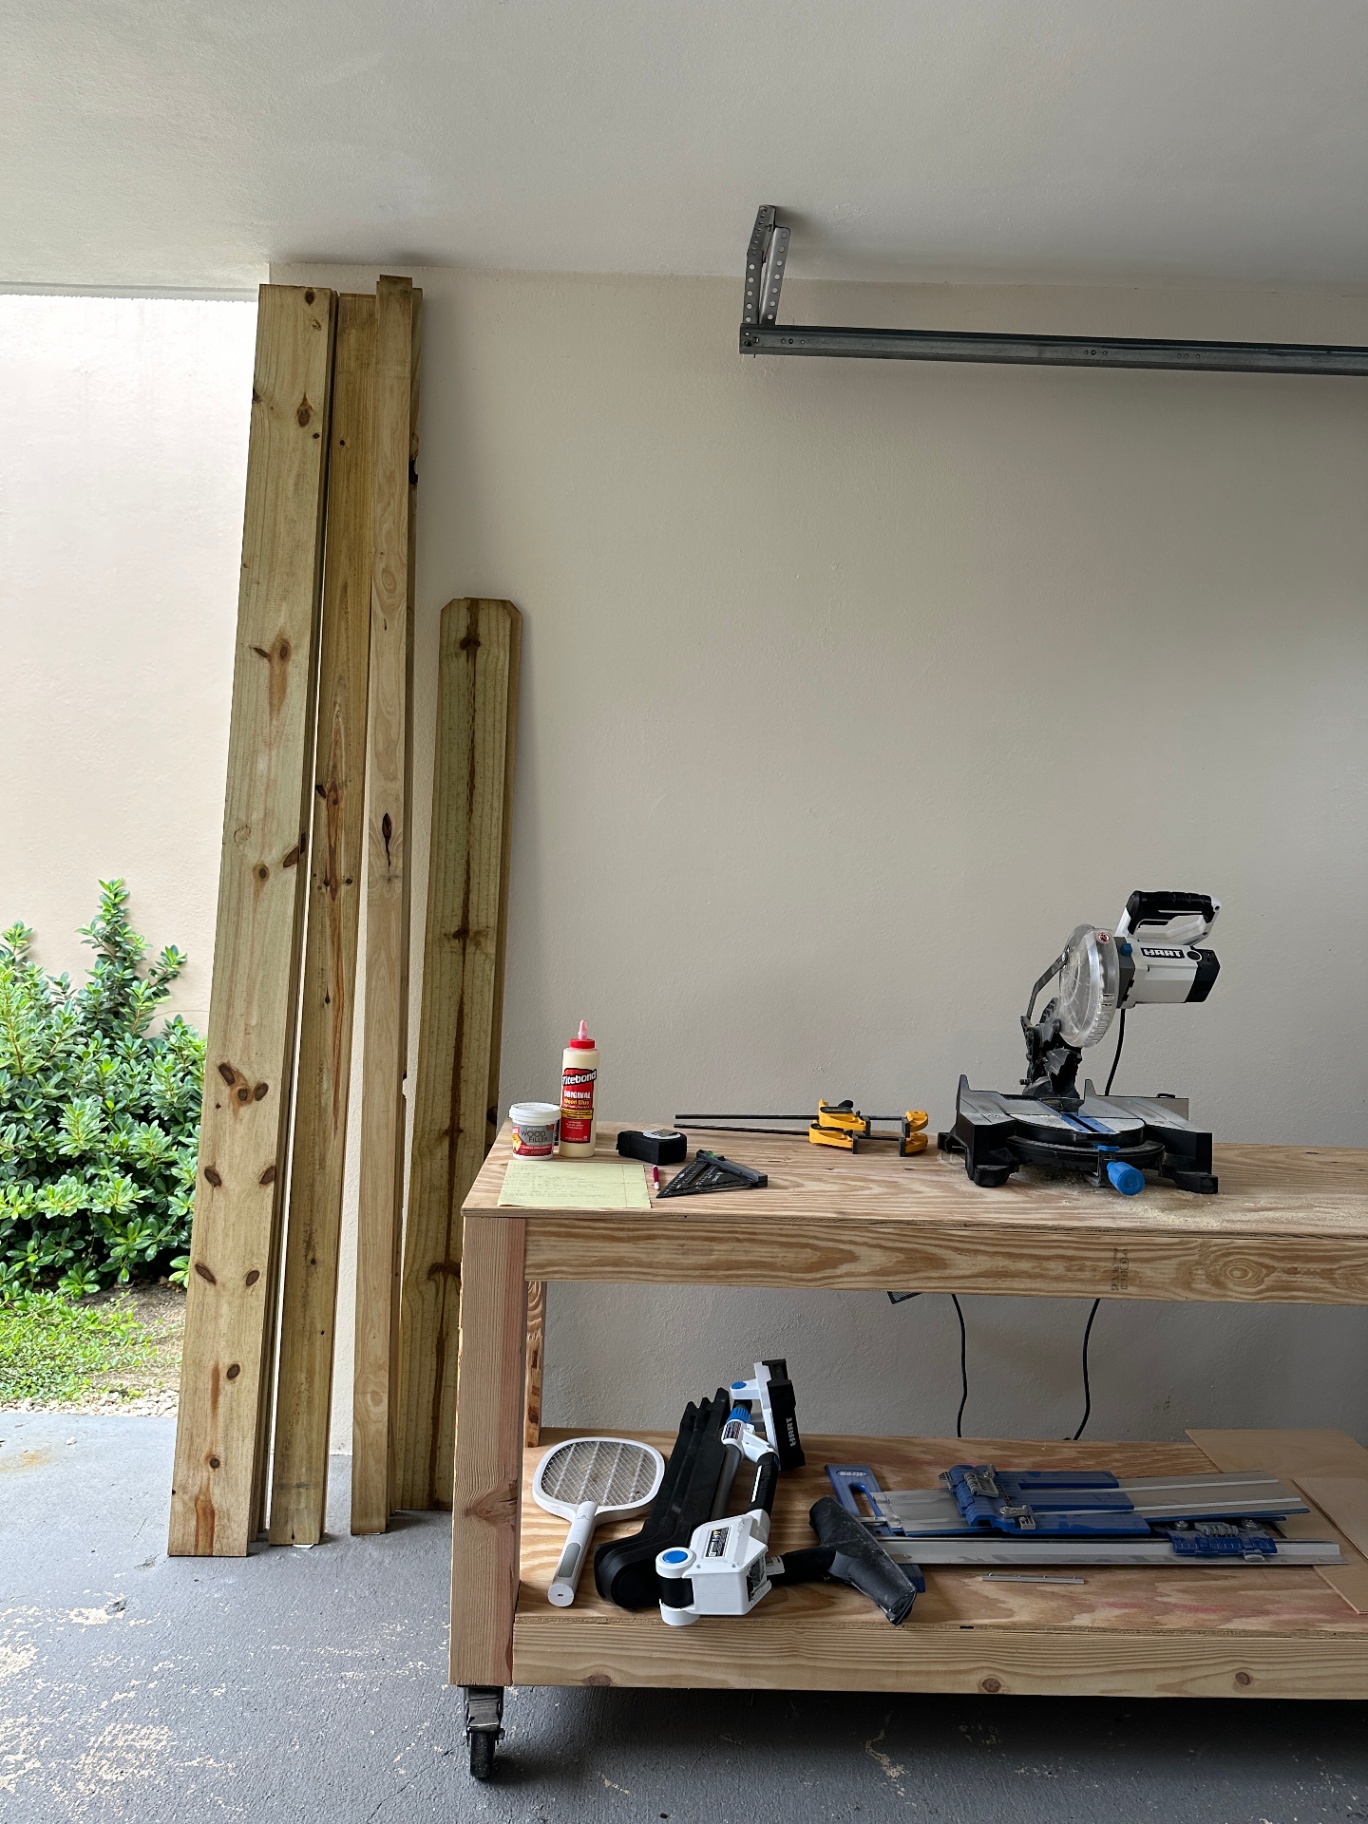
Tools Used
Cut List for a 2x4' Raised Garden Bed
Here is the full cut list I used for this size:
4 pieces of 1x6 at 48" for the long side panels
4 pieces of 1x6 at 24" for the short side panels
10 pieces of 1x3 at 11" for the side panel braces
6 pieces of 1x2 (I just ripped my 1x4's in half down the middle) for the slat supports (measure between your braces since placement can vary slightly)
4 pieces of 1x4 at 30" for the legs
6 pieces of 1x6 fence picket at 24" for the slats
2 pieces of 1x3 at 48.5" mitered for the top face frame
2 pieces of 1x3 at 27.5" mitered for the top face frame
Important: Before cutting your boards, decide which sides of the garden bed will be inset during assembly. This affects both your measurements and brace placement. My cut list is designed with the short sides inset between the long sides, so if you're building a different size bed or want the long sides inset instead, make sure to plan that out before creating your cut list.
How to Build a Raised Garden Bed DIY Style
Step 1: Decide on Your Garden Bed Size
Before making any cuts, decide on the dimensions you want for your raised garden bed. I went with a 2-foot by 4-foot design because it's manageable, beginner-friendly, and fits nicely in smaller outdoor spaces.
One thing to keep in mind before you start measuring is which sides will be inset during assembly. My design has the short sides inset between the long sides, and that affects both the cut list and where the braces are installed. If you're customizing the dimensions, make that decision first so you can adjust your measurements accordingly.
Once you've settled on your dimensions and assembly plan, cut all of your boards according to your cut list.
👉 If you’re more of a visual learner, I also shared the full build on YouTube here so you can follow along with the project step by step as you work.
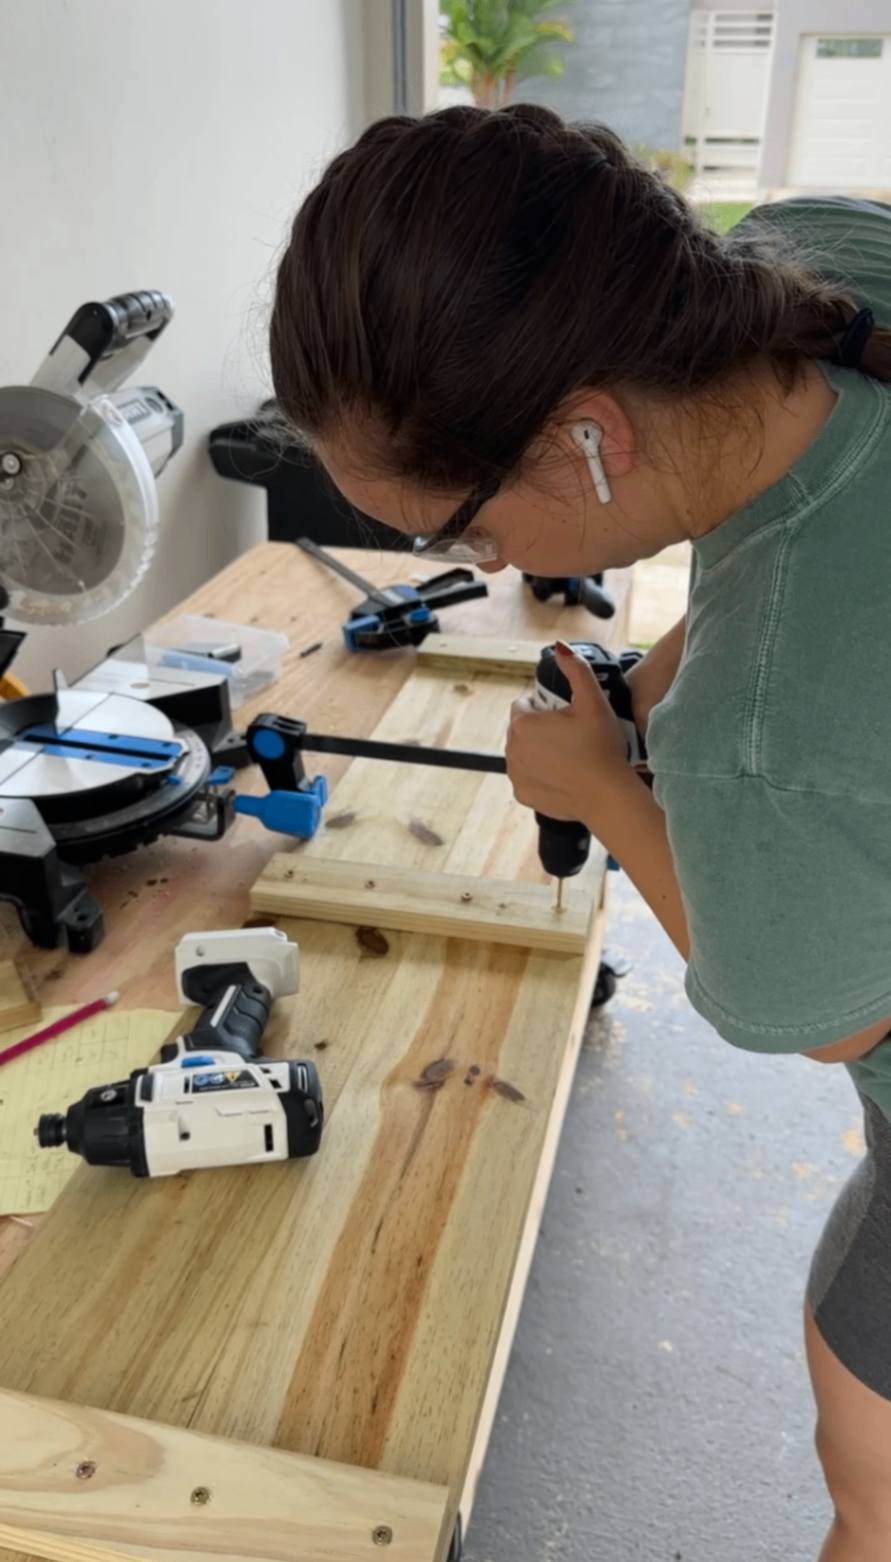
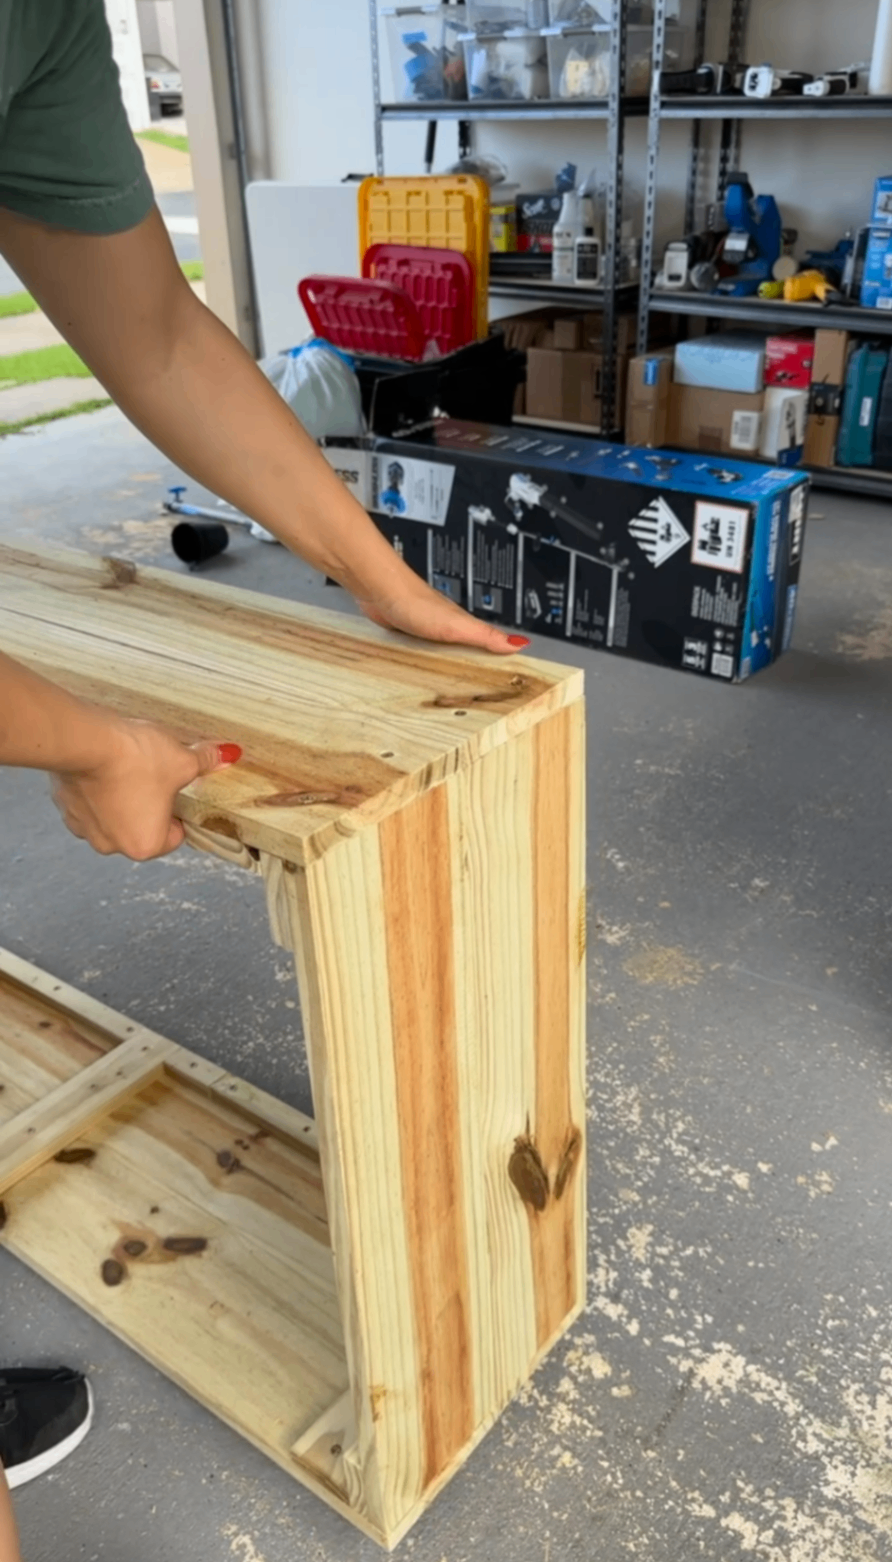
Step 2: Build the Side Panels
Each side panel is made from two 1x6 boards connected with 1x3 braces on the inside.
Because the brace placement depends on which sides will be inset, make sure you've already decided on your assembly layout before building the panels. My cut list and measurements are based on the short sides being inset between the long sides.
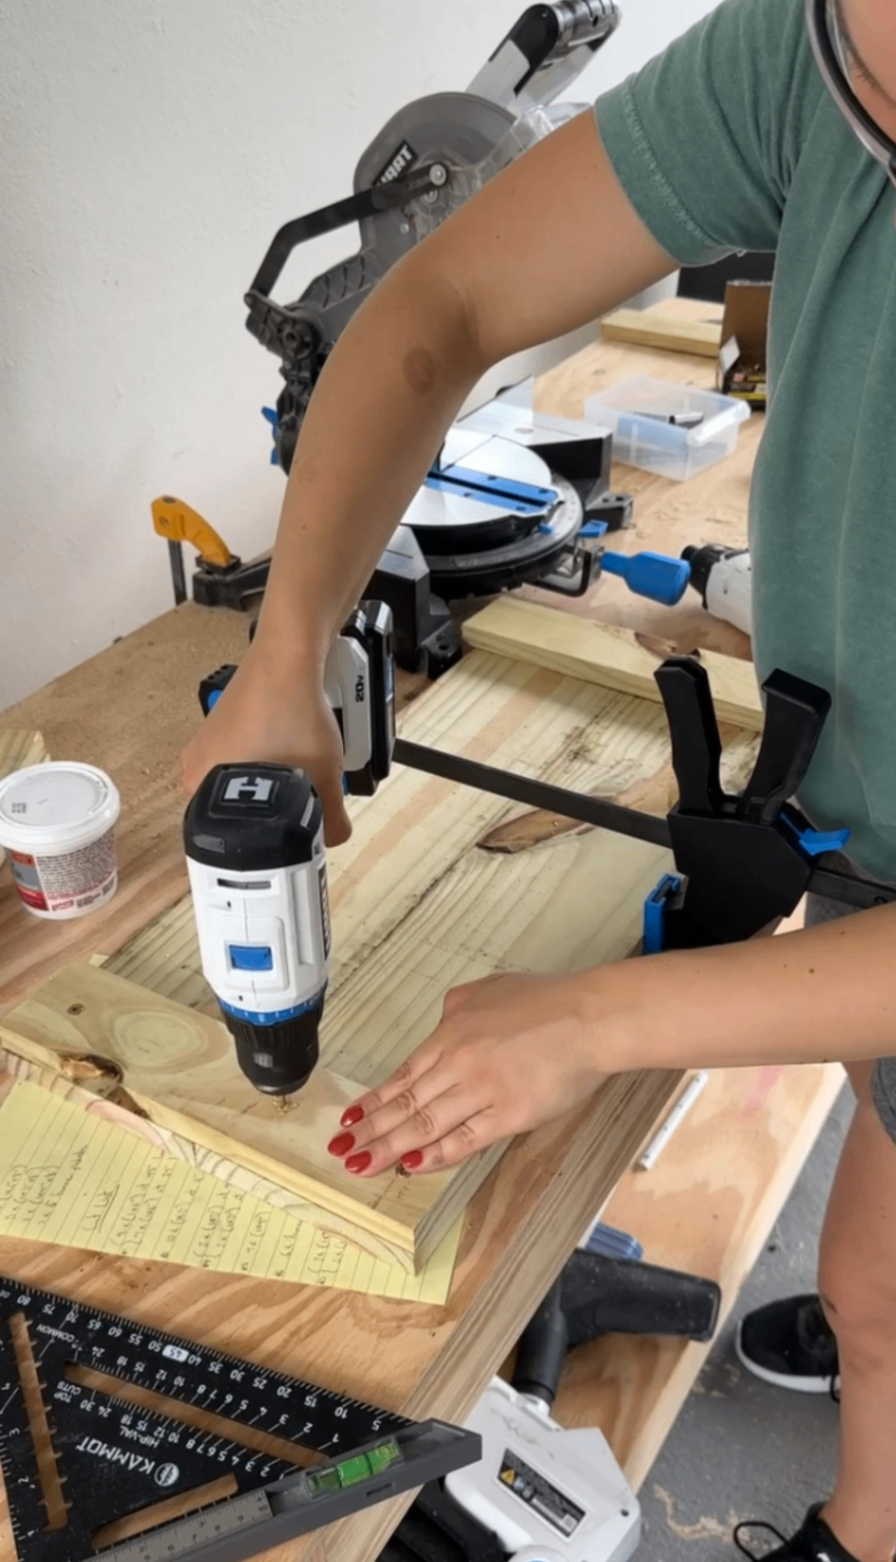
For the short sides, use two braces total - one on each end. For the long sides, use three braces total, placing one on each end and one in the center. Make sure to pre-drill first and use 1.25" construction screws and an impact driver to secure.
At this point, you'll have the four main panels that make up the frame of your raised garden bed.
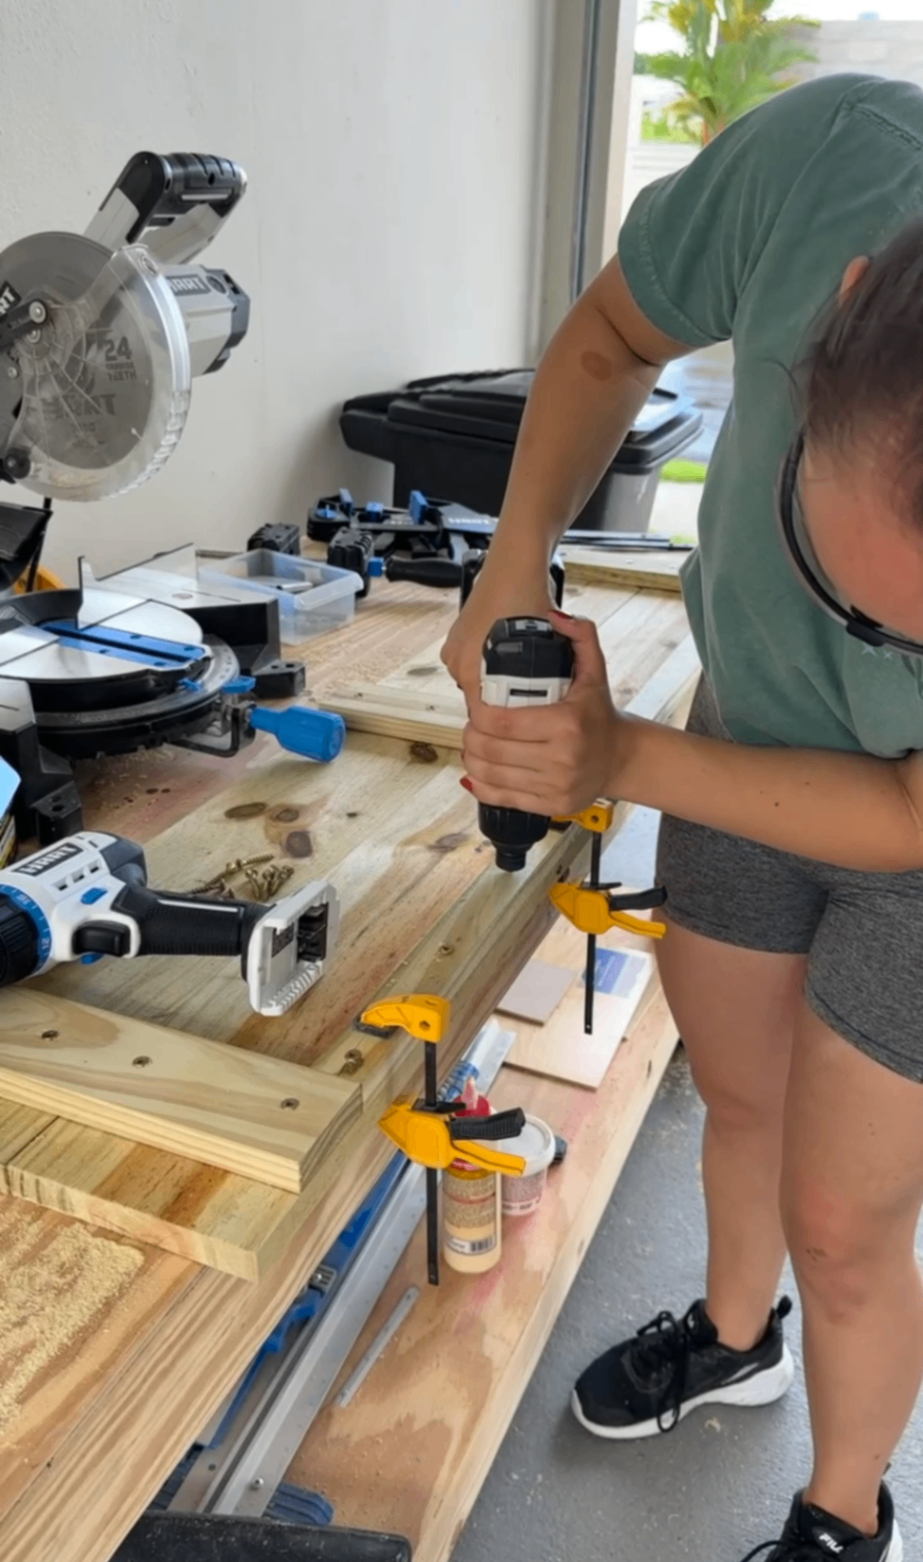
Step 3: Add the Bottom Slat Supports
Next, install supports along the bottom inside edge of the long panels. These will hold the bottom slats later.
I wanted the supports to stay fairly low-profile, so I ripped a 1x2 down the middle. A table saw would definitely make this easier, but I worked with the tools I had (circular saw and clamps) and it turned out great.
Attach the supports securely along the lower inside edge of each long panel, again pre-drilling first and then securing with screws and an impact driver.
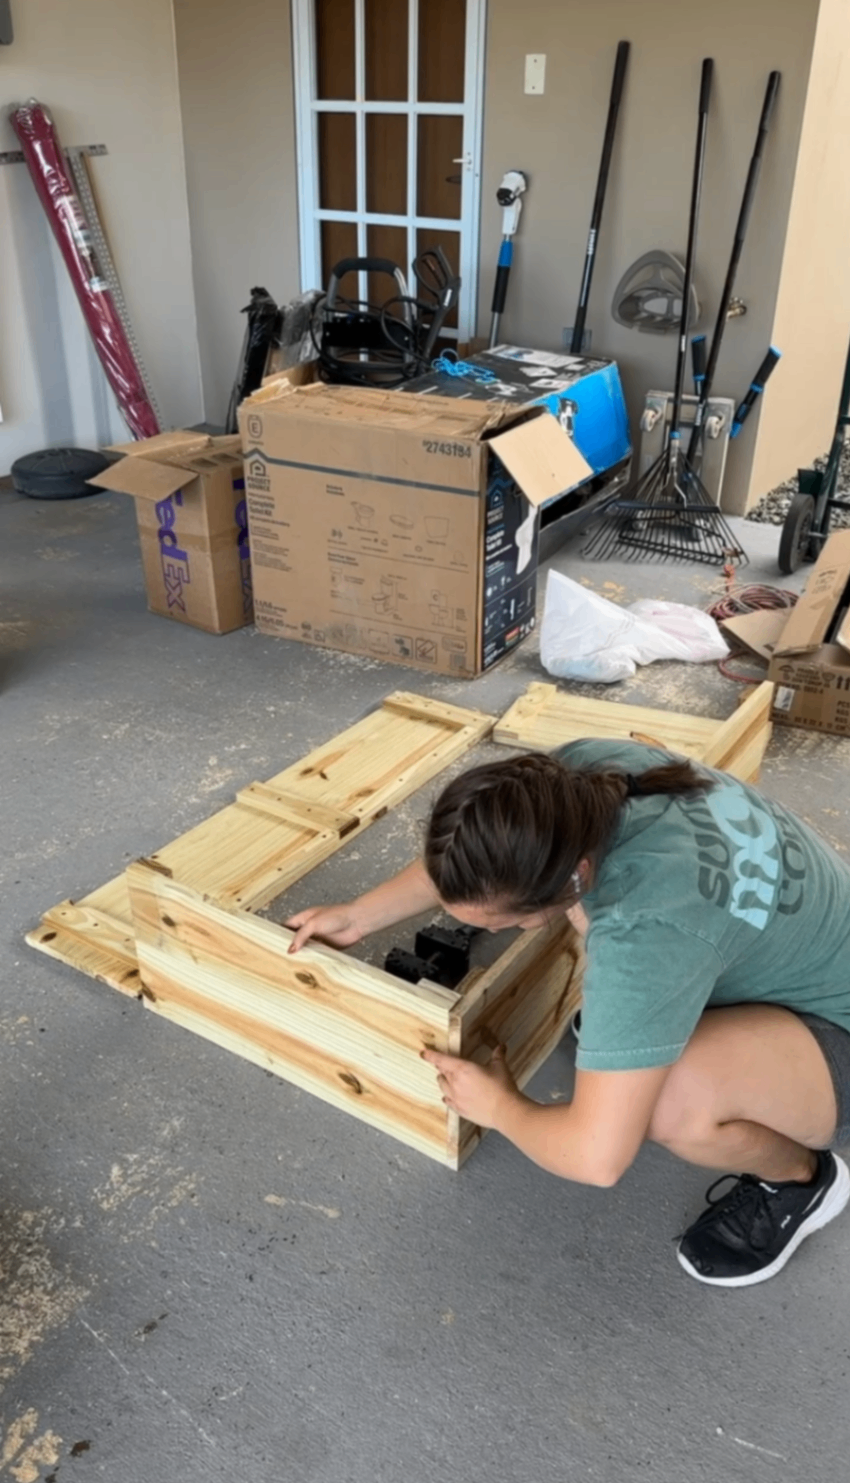
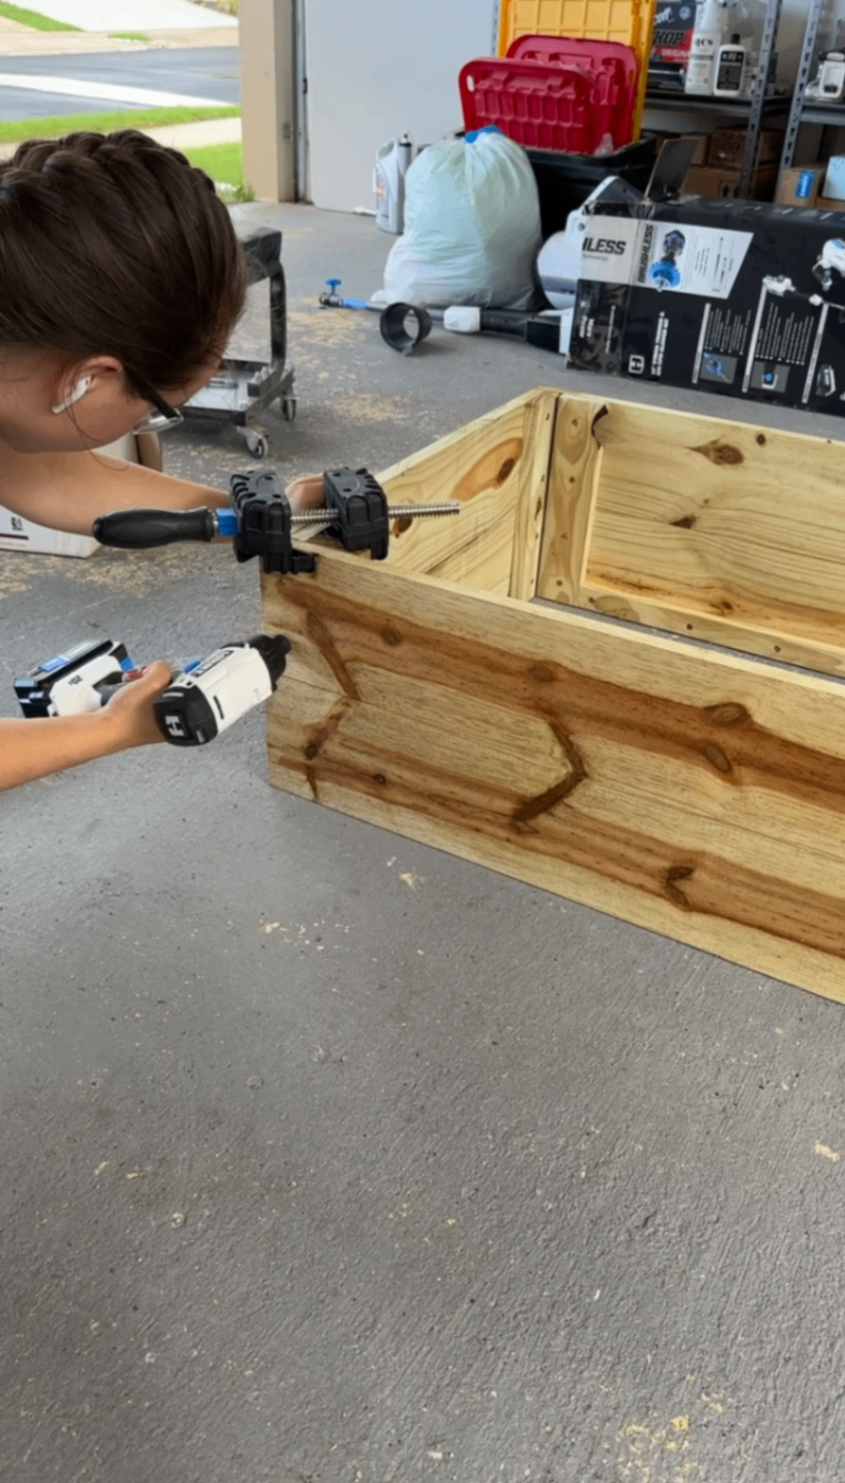
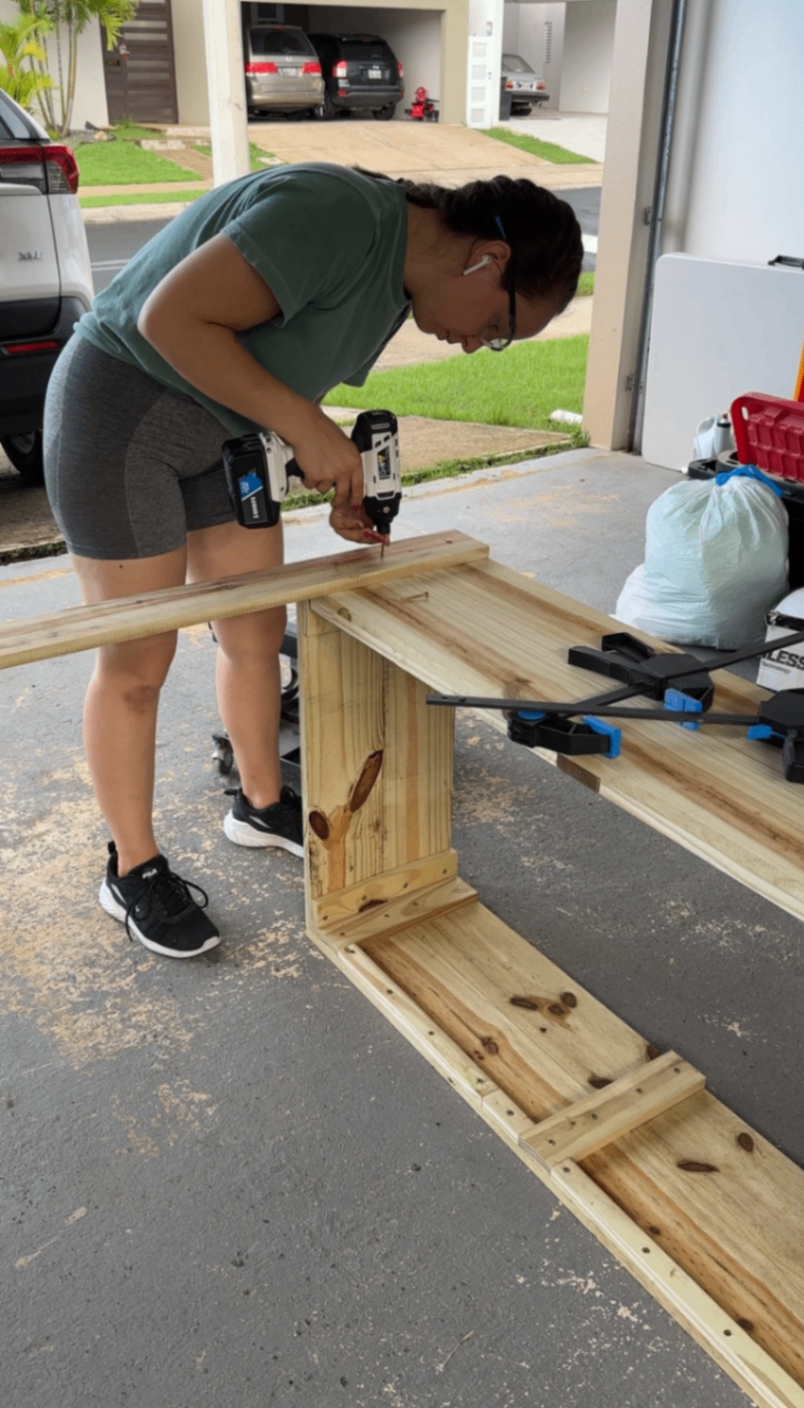
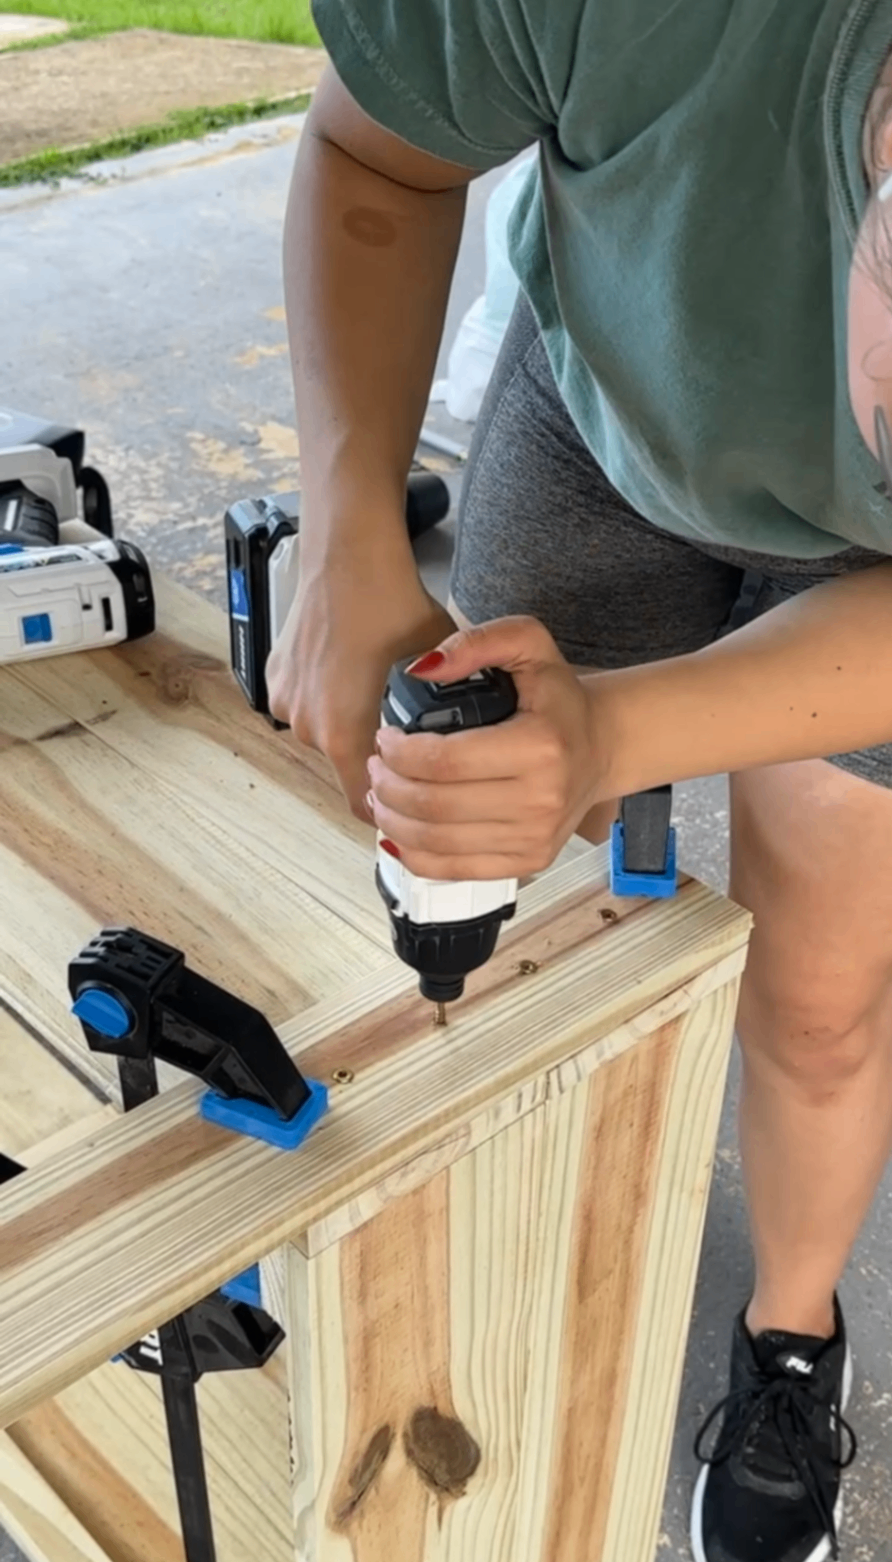
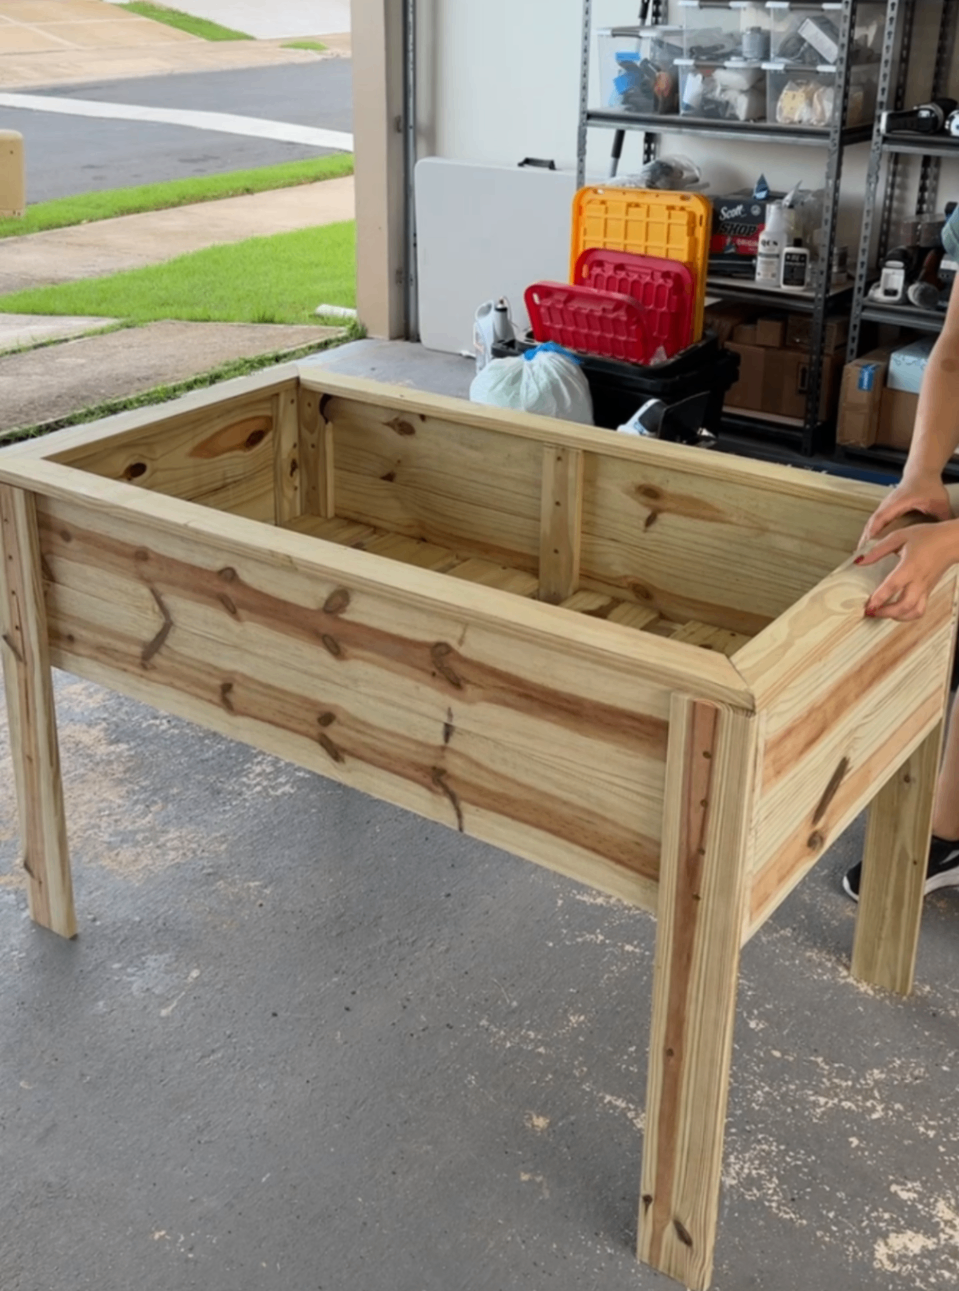
Step 4: Assemble the Main Box
Now it's time for everything to start looking like an actual garden bed!
Assemble the four panels into a box, pre-drilling before each screw. Corner clamps - while not necessary - do come in super helpful here!
Take your time and check for square as you go. A little extra patience here makes the rest of the build much easier.
I also filmed the full project on YouTube here, so if you want a visual walkthrough of each step, be sure to watch that alongside this tutorial.
Step 5: Cut, Sand, and Attach the Legs
Cut your legs to size and give all the pieces a quick sanding before attaching them.
Secure one leg at each corner using four screws per leg. Since these screws will remain visible, I tried to keep the spacing even for a cleaner finished look.
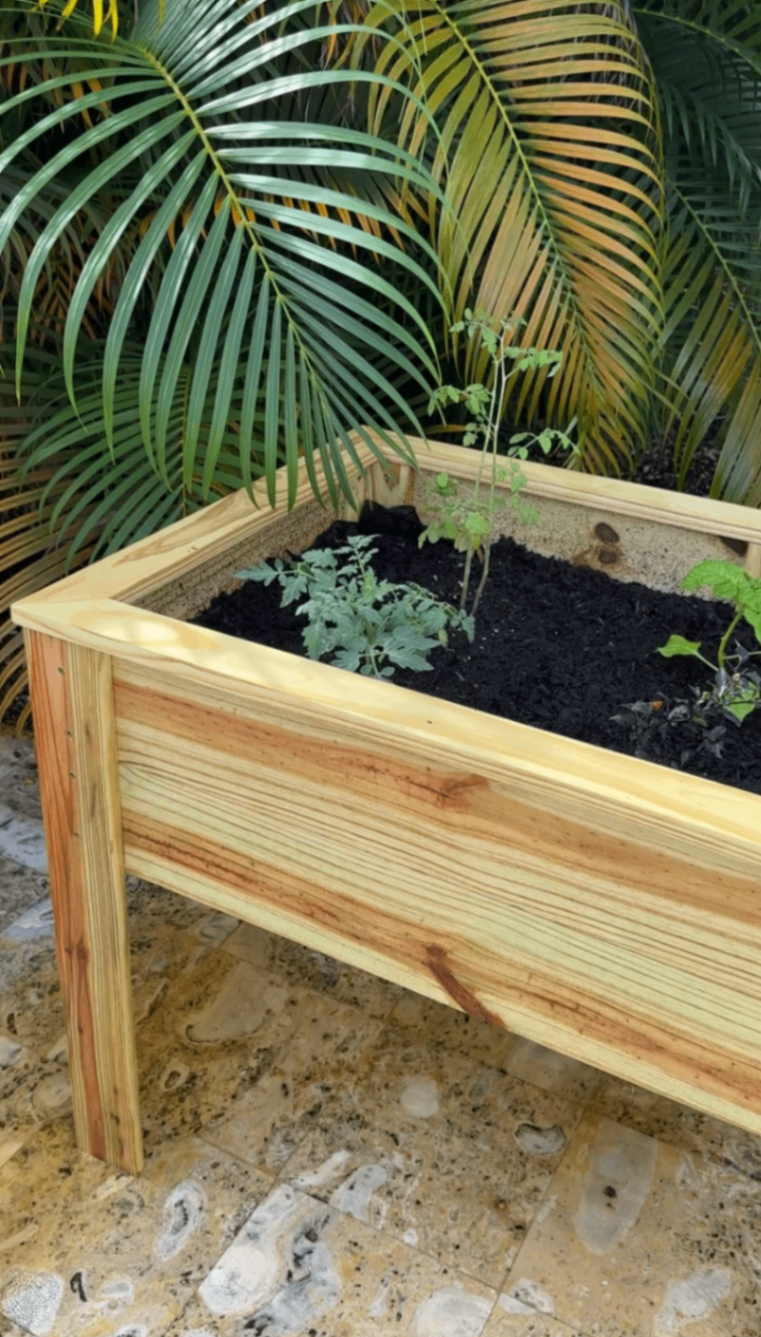
Adding legs gives the raised DIY garden bed a more elevated, furniture-style appearance, which I really love. If I were to change anything about this build, I might double up the legs or use a slightly thicker material for them. The 1x4 legs worked out just fine and have held up well, but I wouldn't have minded a little extra stability, especially once the bed is filled with soil.
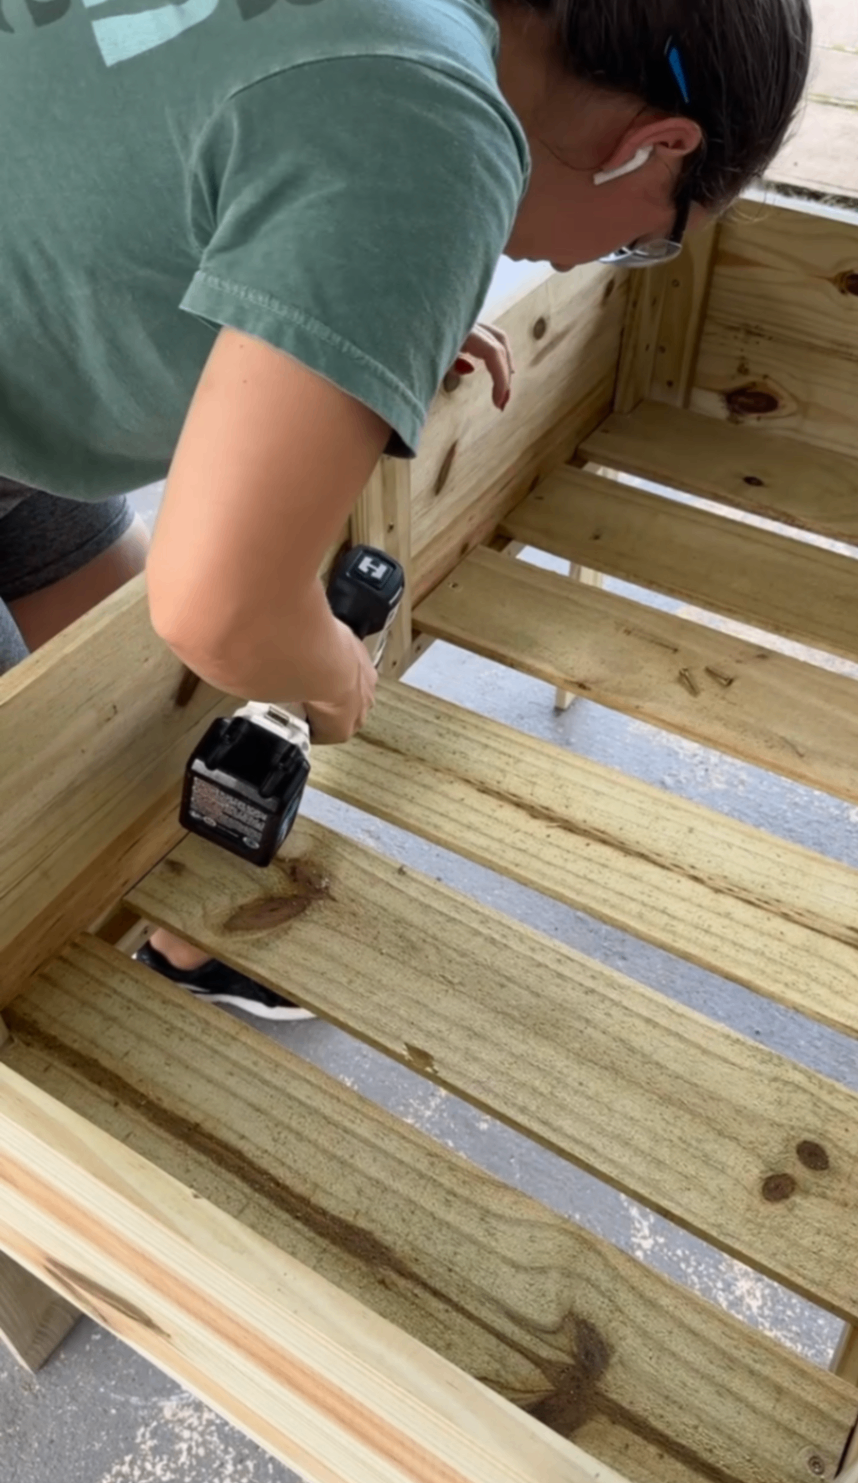
Step 6: Add the Bottom Slats
For the bottom slats, I used inexpensive fence pickets, which are one of my favorite budget-friendly materials for outdoor projects!
Cut the slats to size and use a jigsaw to notch the corners of the end pieces so they fit neatly around the legs. Once everything is fitting properly, secure each slat with one screw on each end.
Step 7: Add the Top Face Frame
This step is optional, but it's one of those details that makes the finished project look so much more polished.
I added a mitered 1x3 face frame around the top edge using wood glue and brad nails. While it doesn't add much structurally, it gives the raised garden bed a finished, custom-built look that I think is totally worth the extra effort.
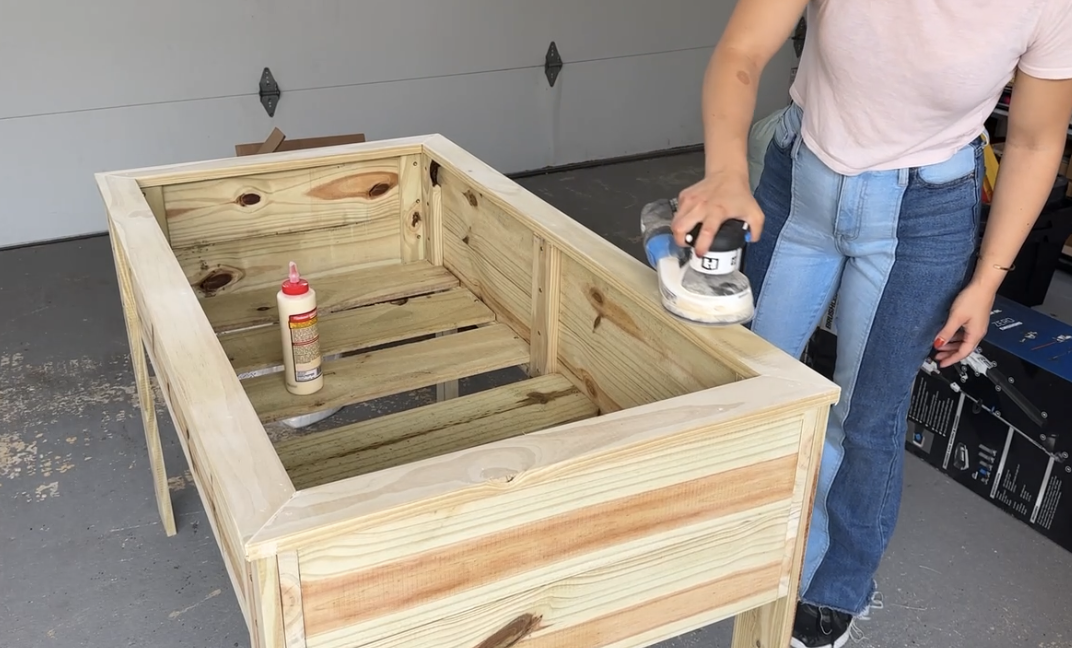
Step 8: Fill Holes and Sand Everything Smooth
Before moving on to the finish, fill any screw holes or gaps with wood filler.
Once it's dry, sand everything smooth. This step doesn't take long, but it makes a huge difference in the final appearance.
Step 9: Seal the Wood for Outdoor Use
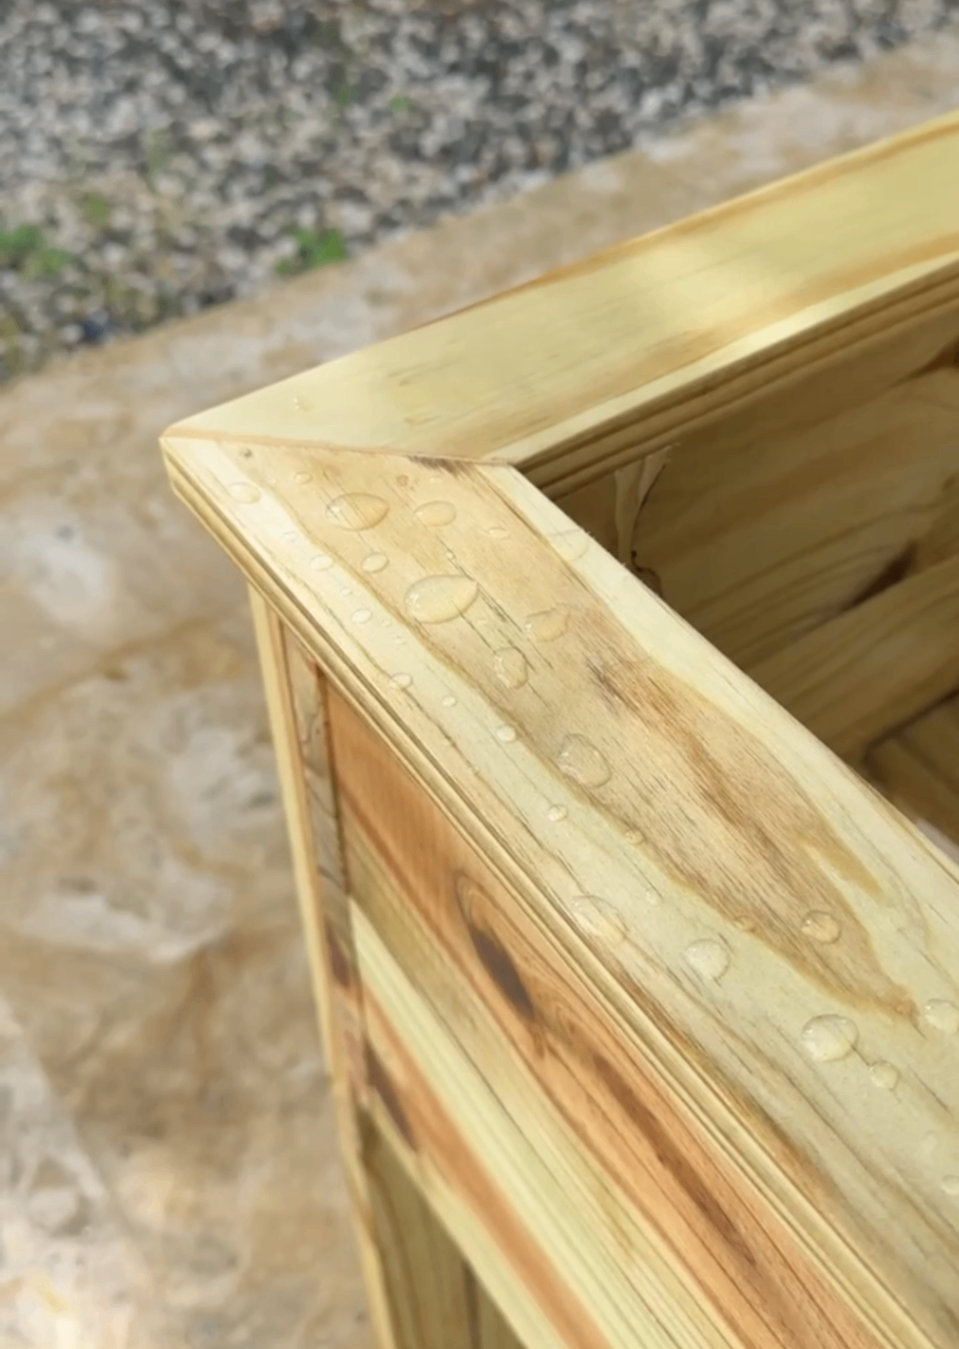
Since this raised garden bed will be exposed to the elements, sealing the wood is an important step.
I used Outdoor Defense Oil from RMP Co, and I've been really impressed with it. It's all-natural, non-toxic, beginner-friendly to apply, and a great option for projects that will be used around vegetables and herbs.
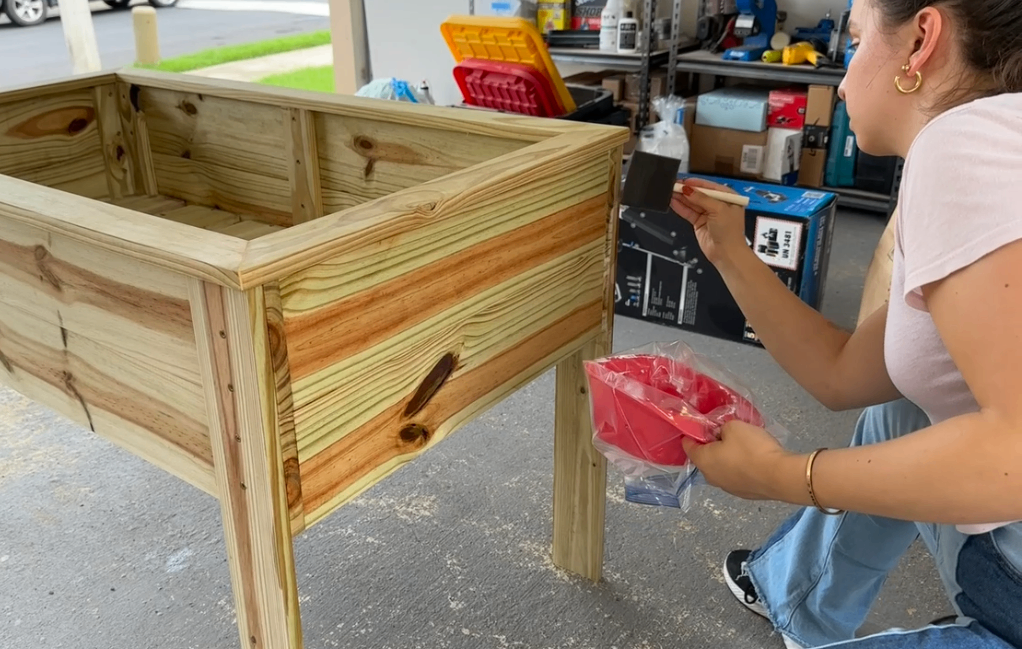
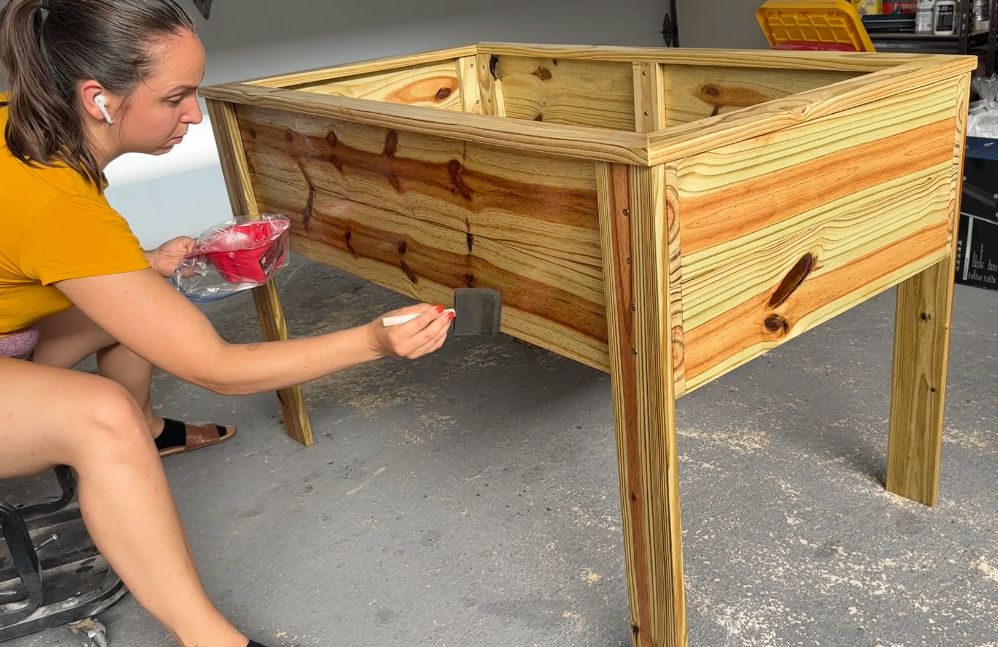
I applied it with a foam brush and did three coats, allowing a few hours of drying time between each coat. Once it cured, water was already beading beautifully on the surface, which gave me confidence that it would hold up well outdoors.
If you're looking for an easy outdoor finish for a raised garden bed DIY project, this is definitely one I'd use again. And if you'd like to try it for yourself, use code BUILDINGBRIDGET10 for 10% off your order on the RMP Co website.
Shop the Supplies I Used
You can find all of my supply links in one place here!
Step 10: Add Landscape Fabric
Once the finish is fully dry, line the inside of the garden bed with landscape fabric and staple it into place.

This helps keep soil where it belongs while still allowing for proper drainage.
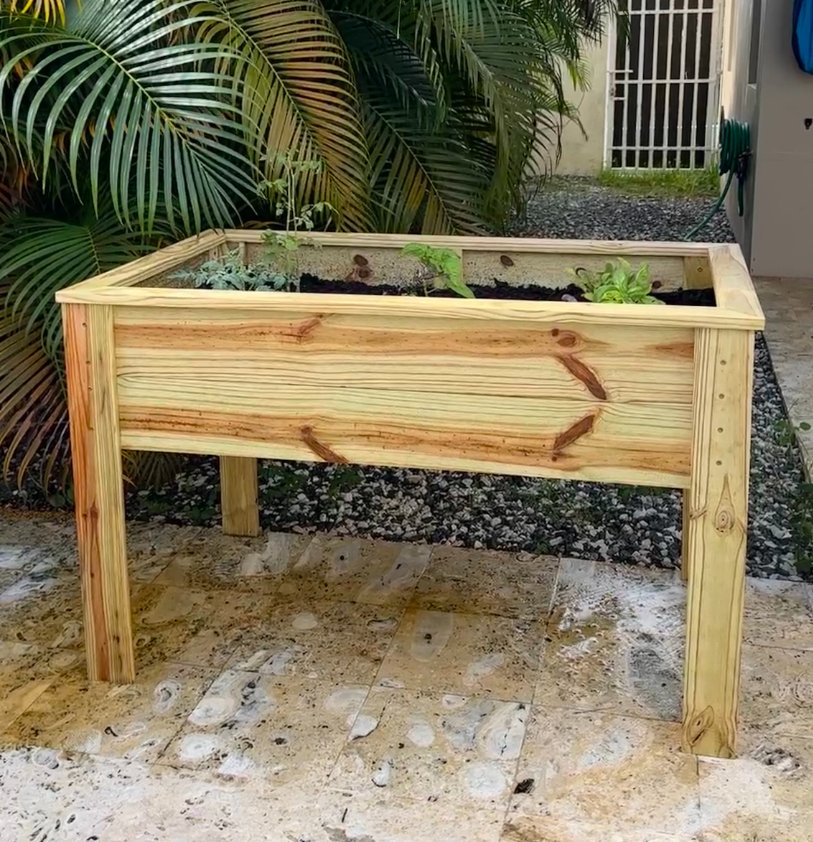
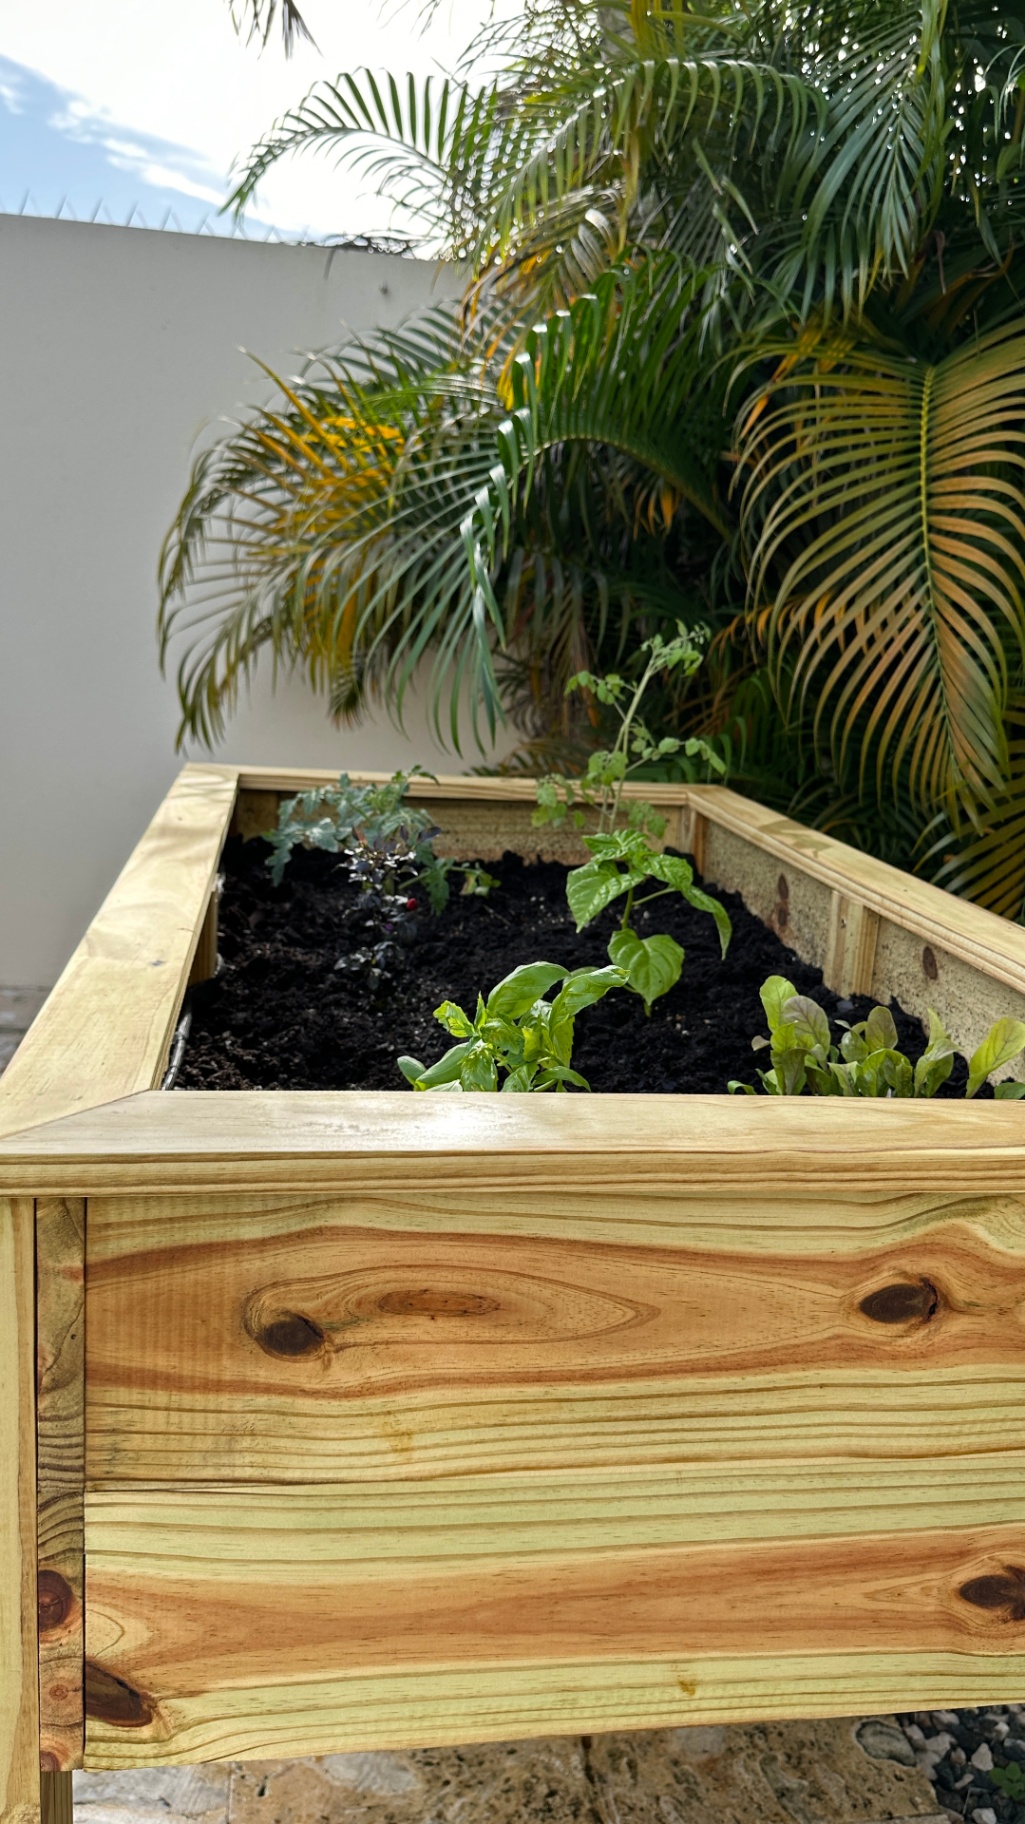
Step 11: Fill With Soil and Plants
Now for the best part.
Fill your raised garden bed with soil and start planting. This size works beautifully for herbs, flowers, leafy greens, strawberries, or even a small vegetable garden.
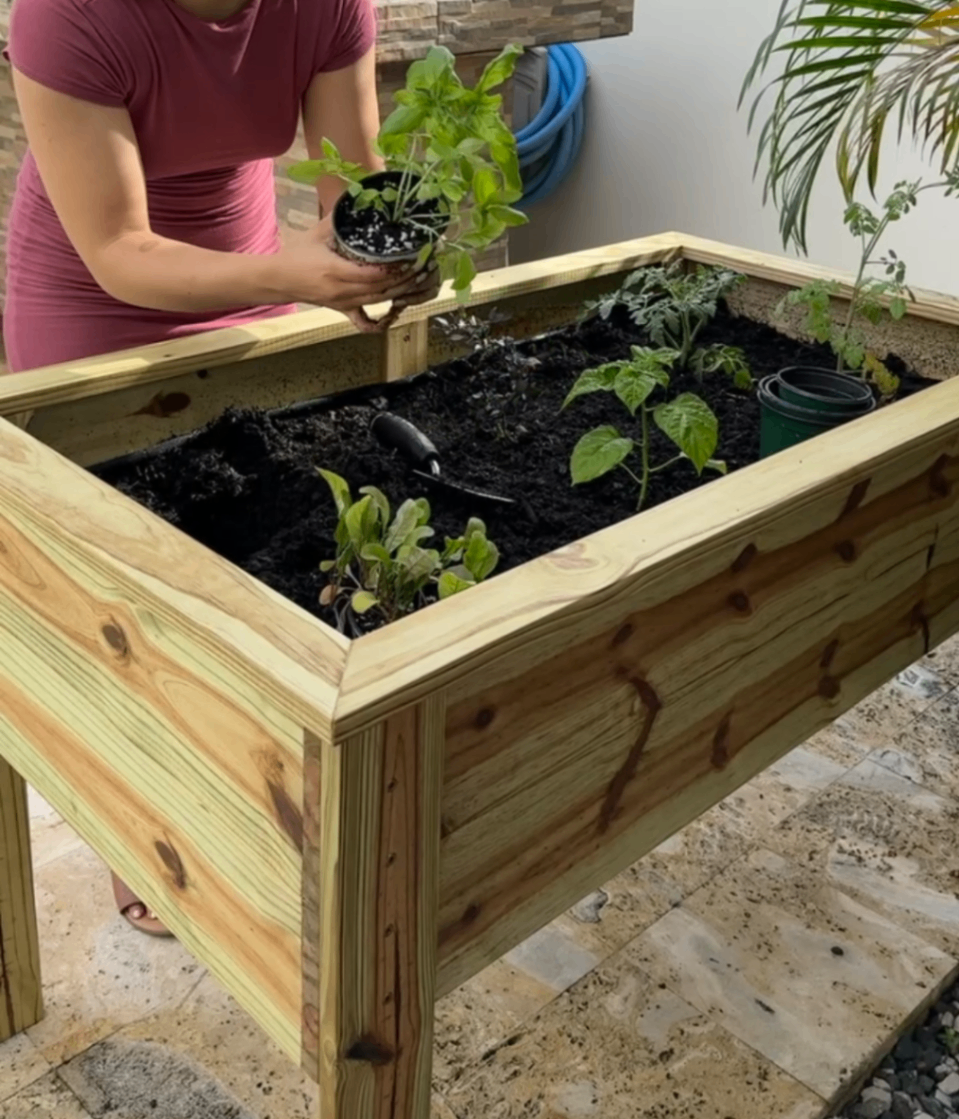
This is the step that makes it all worth it!
Final Thoughts on This Raised Garden Bed DIY
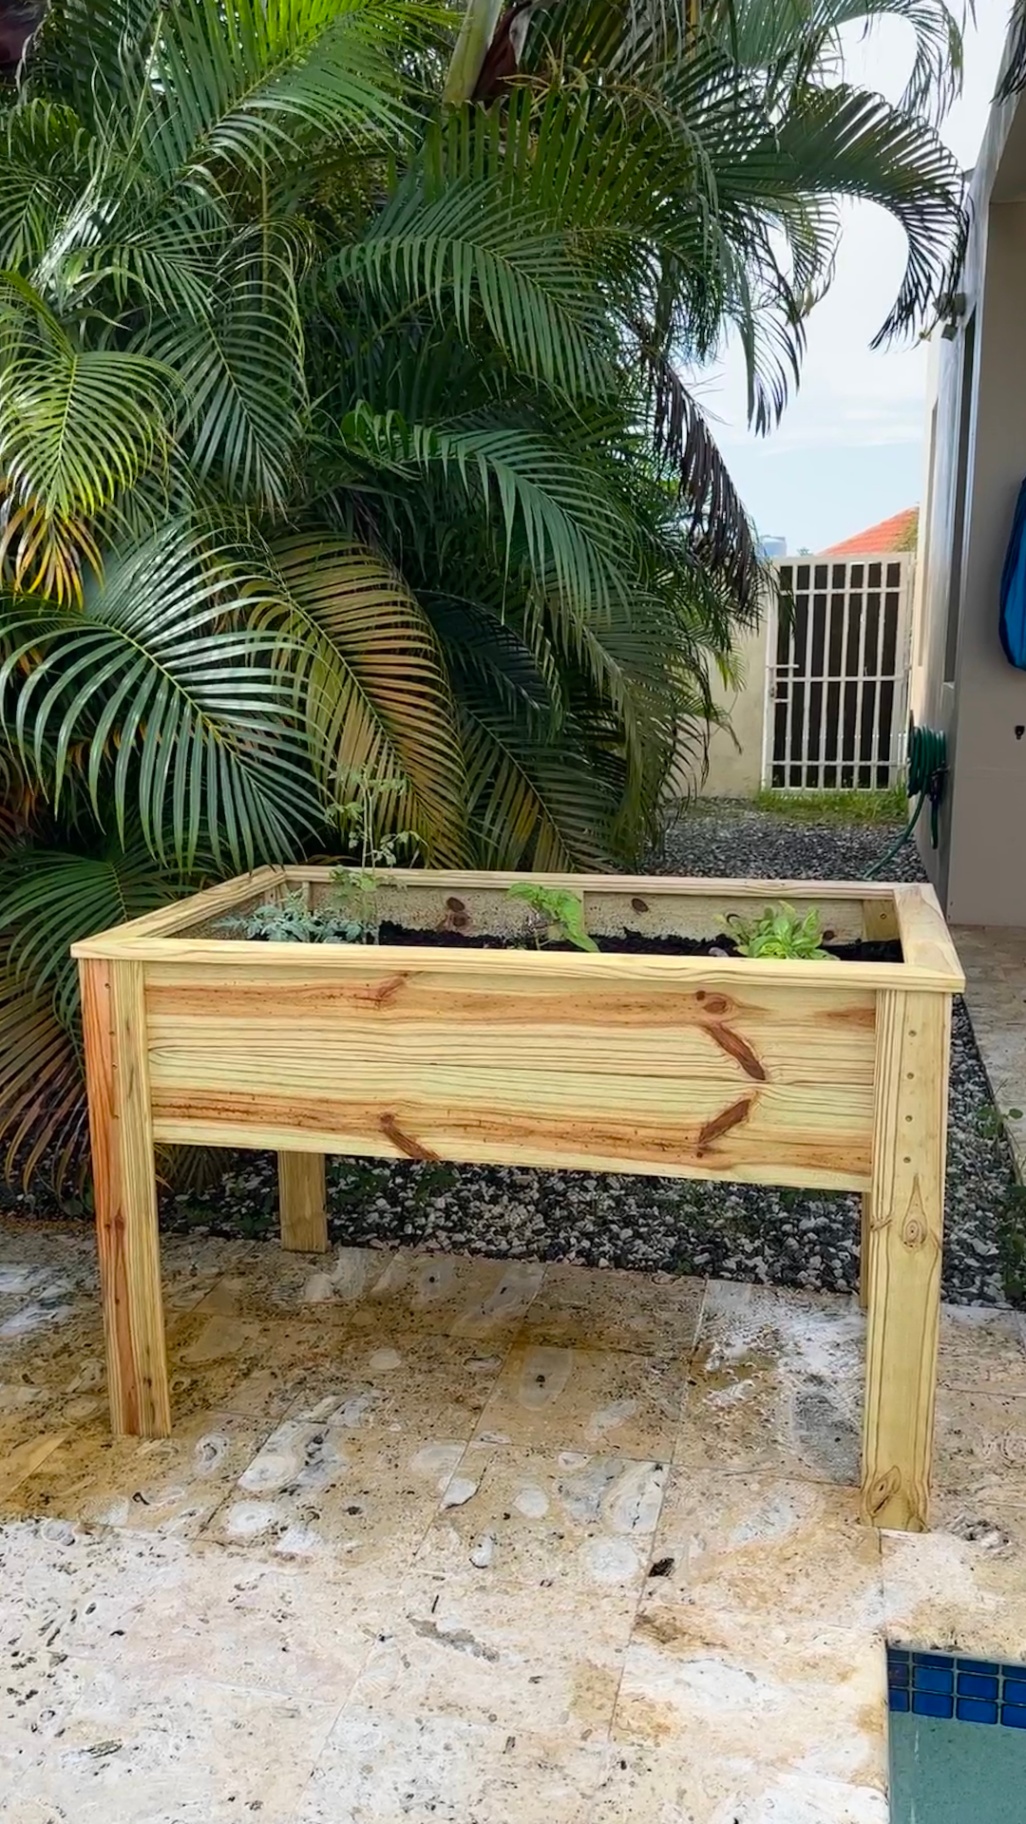
If you've been wanting to build your own raised garden bed, this is such a fun and approachable project. It's beginner-friendly, customizable, and can completely transform a small outdoor space in just a day.
I love that this raised DIY garden bed feels substantial without being overwhelming to build. Whether you're growing fresh herbs for your kitchen, planting flowers for a pop of color, or starting your first vegetable garden, this project is a great place to begin.
And the best part? By next season, you'll probably be planning a second one.
Frequently Asked Questions
What is the best wood for a DIY raised garden bed?
Cedar is a great option because it is naturally rot-resistant, but pressure-treated lumber is also a practical and widely used choice for modern raised garden beds.
What wood NOT to use for a DIY raised garden bed?
I would avoid untreated construction lumber, such as standard pine or whitewood that isn't rated for outdoor use, since it tends to rot quickly. It's also best to skip old reclaimed pressure-treated lumber if you don't know its age or treatment type.
How long does it take to build a raised garden bed DIY project like this?
This one took about one day to build from start to finish - gauge in an extra day or so if you're a total beginner!
What size should a raised garden bed be?
That depends on your space, but a 2x4 raised garden bed is a fantastic beginner size for smaller yards, patios, and starter gardens.
Do I need to seal a raised garden bed?
Sealing is definitely necessary if you want the wood to last longer outdoors. Just make sure to choose a finish that's suitable for outdoor use and appropriate for garden projects.
Can I customize these dimensions?
Absolutely. This design is fully customizable, so you can make your raised garden bed longer, wider, or taller depending on your space and gardening goals.
More DIY Garden Projects
For a full visual step-by-step tutorial, you can also follow along with my YouTube video of this exact raised garden bed build.
If you enjoyed this raised garden bed DIY, be sure to check out my DIY paver landing blog post for another beginner-friendly outdoor project.
📌 Planning to build this later? Be sure to save this post to Pinterest so you can easily find the full tutorial, supply list, and measurements when you need them.